In this article we are going to set up a Blue Pill with a PTZ Extreme. This article is also relevant if you are using other PTZ Controllers or PTZ Devices then the ones mentioned in this article.
## 1. Access The Blue Pill When you first receive the Blue Pill and power it on, the display will show you a IP address such as `192.168.10.99` To access the the Blue Pill, open any browser and enter this address in the search field like so: [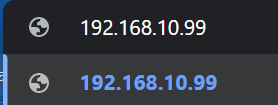](https://wiki.skaarhoj.com/uploads/images/gallery/2022-03/image-1646125852865.png) and press enter.We cannot help you with what your exact IP address will be, as this is determined by the routers and infrastructure that you are plugging your Blue Pill into. To get help talk to your local network administrator.
## 2. Adding a Panel with Discovery To add a panel press the "Add Panel" button [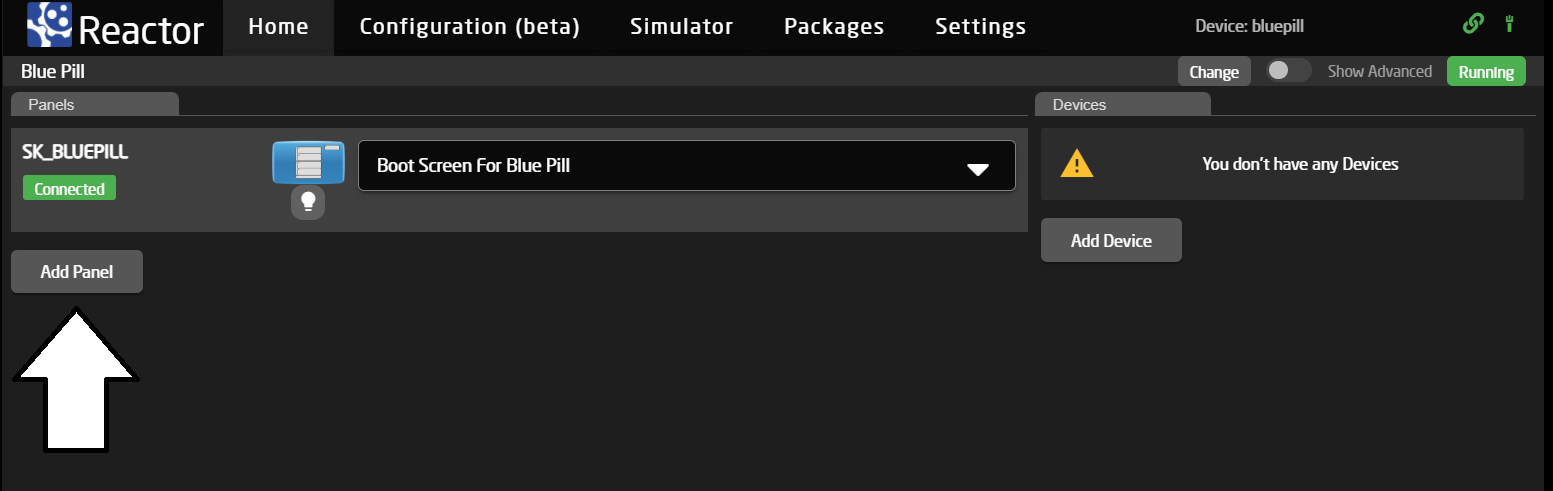](https://wiki.skaarhoj.com/uploads/images/gallery/2022-03/image-1646126160344.png) You will be presented with this pop up: [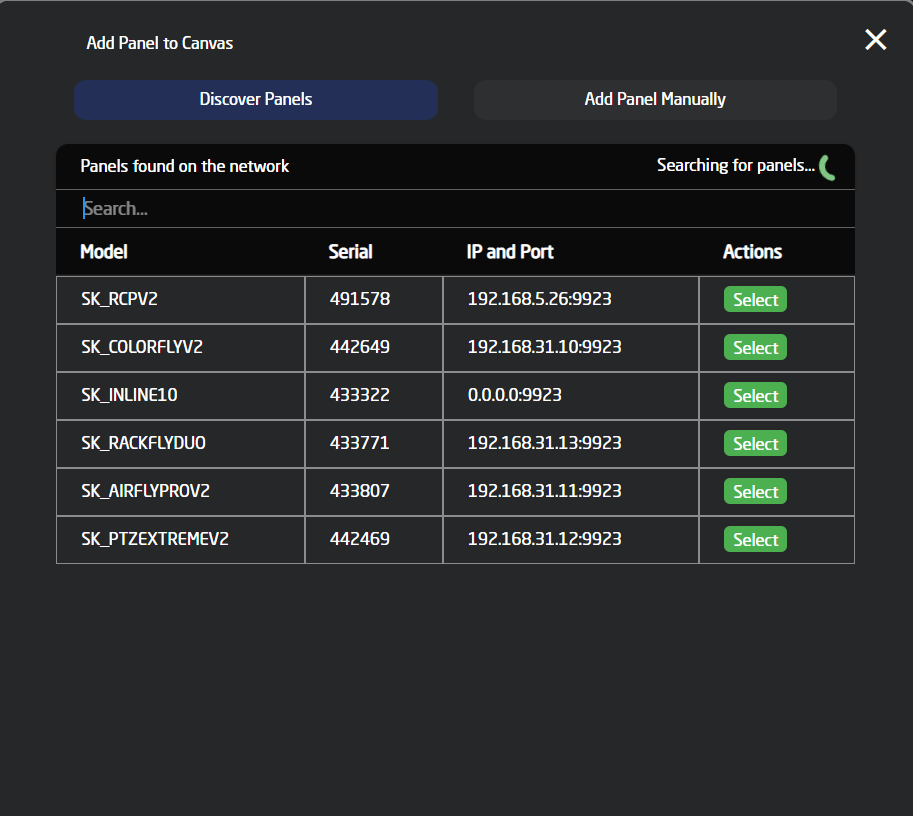](https://wiki.skaarhoj.com/uploads/images/gallery/2022-03/image-1646126233194.png) If your SKAARHOJ Panel (UniSketch or Blue Pill Inside) is connected to the same network as the Blue Pill it will appear on the "Discover Panels" Tab. Please give it 5 sec to search for panels. If you see your panel is this list, simply click "Select" to select that panel and return to the Home Screen. [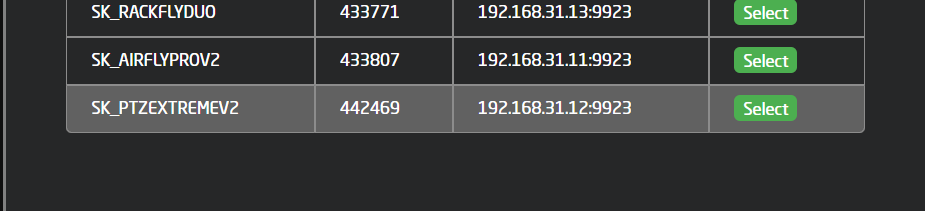](https://wiki.skaarhoj.com/uploads/images/gallery/2022-03/image-1646126556272.png) Now you will see the Panel added to your collection. [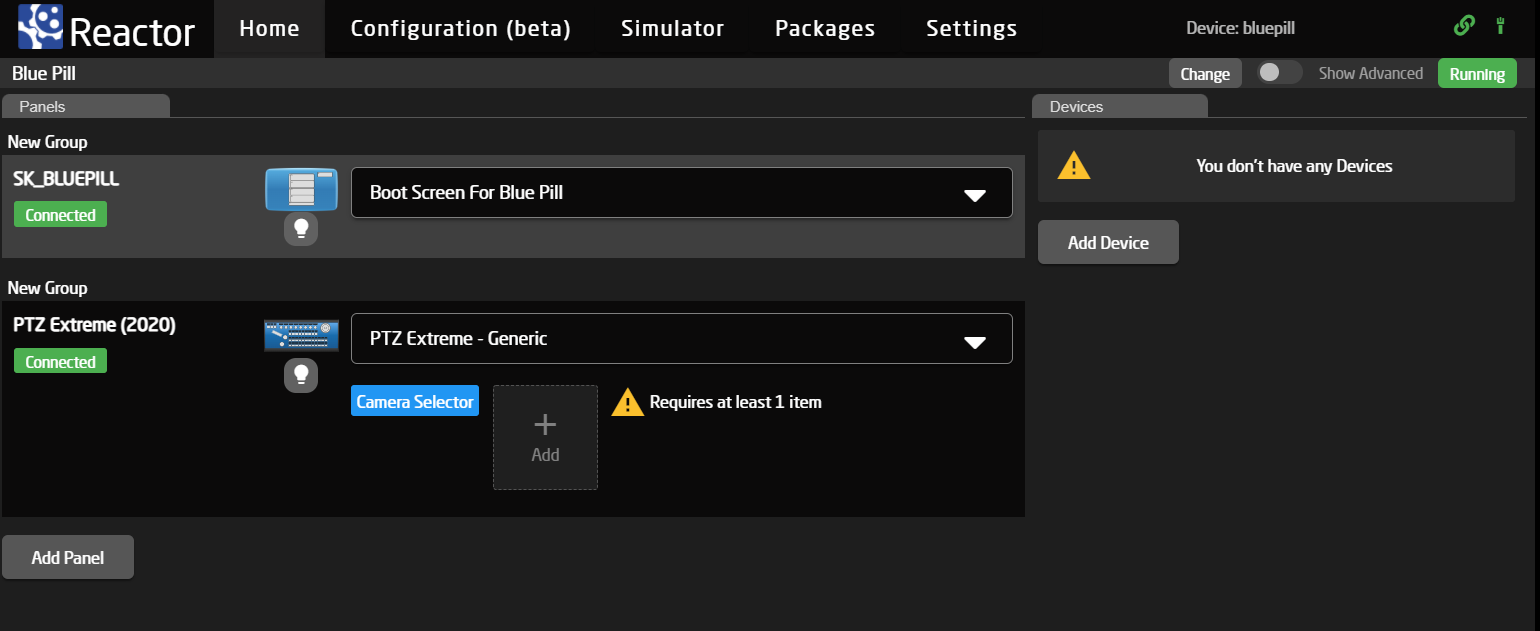](https://wiki.skaarhoj.com/uploads/images/gallery/2022-03/image-1646127266974.png) Notice that it will try to connect, and show "connected" if successful. You are able to identify it, by clicking the light bulb icon.The drop down menu is automatically being filled with a recommend configuration, if you are not happy with this option you can choose another from the list.
### 2.1 Adding a Panel Manually If your panel is not showing up on the list, (or you don't have it yet) go to "Add Panel Manually" in the "Add Panel" pop up. [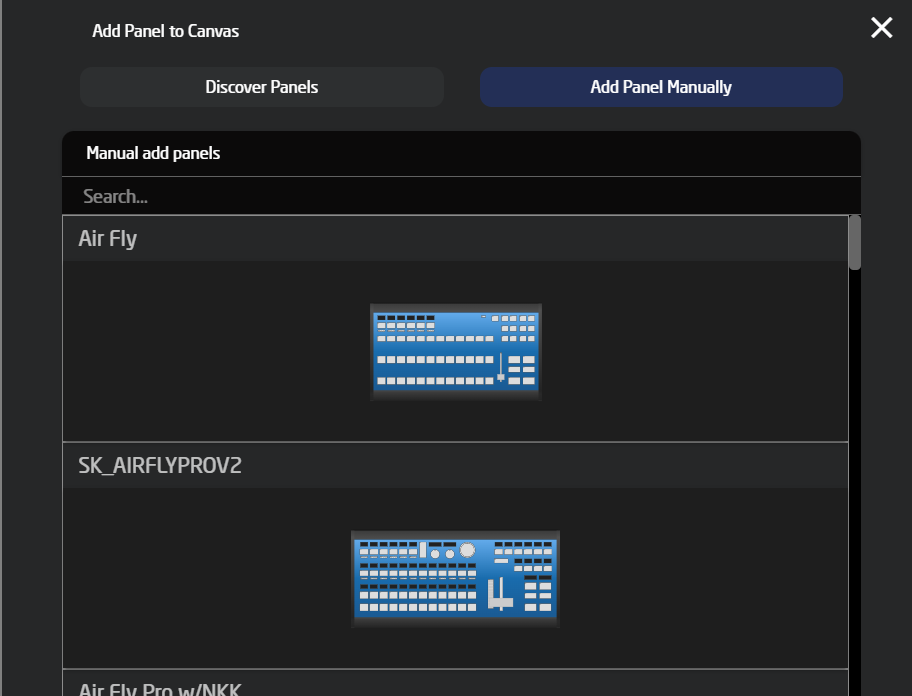](https://wiki.skaarhoj.com/uploads/images/gallery/2022-03/image-1646127454482.png) From this list you can search SKAARHOJ's vast collection of panels, and select one for your project by clicking on the panel [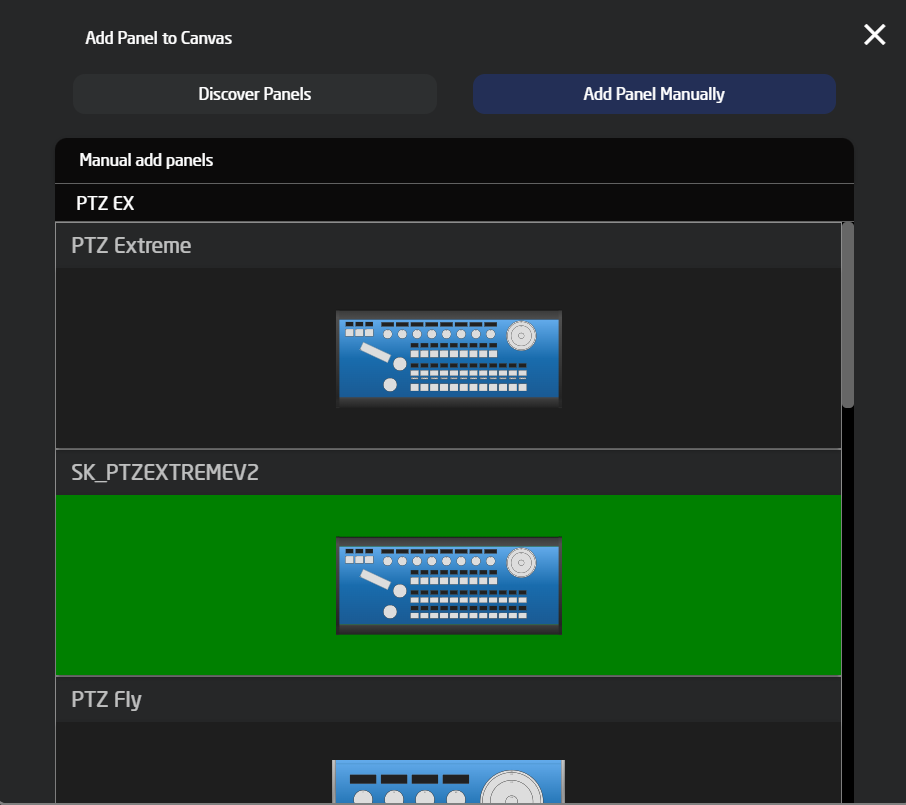](https://wiki.skaarhoj.com/uploads/images/gallery/2022-03/image-1646127528252.png) This will add the panel, and again autofill the mapping. [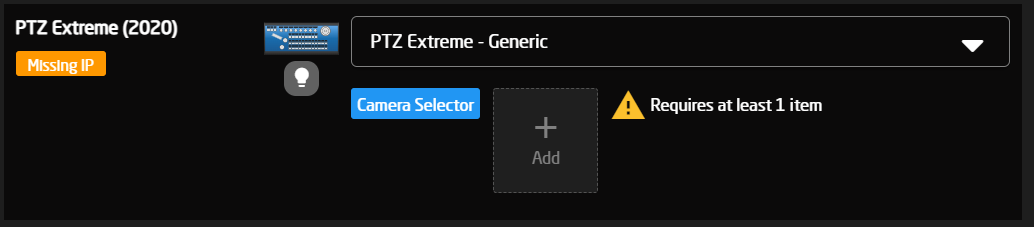](https://wiki.skaarhoj.com/uploads/images/gallery/2022-03/image-1646138179426.png) Notice that the status tag says "Missing IP". To enter an IP, click the title of the controller to open the Panel Details Popup menu. [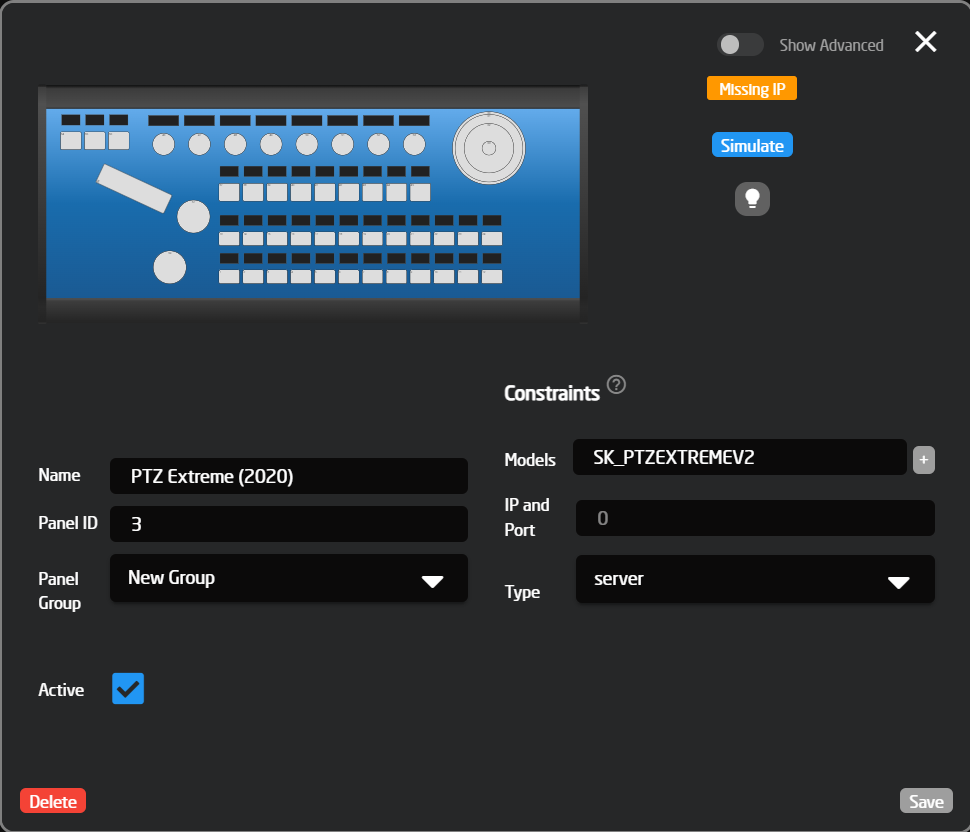](https://wiki.skaarhoj.com/uploads/images/gallery/2022-03/image-1646139005444.png)You can configure a panel, without having it physically. This lets you set up configurations and test from anywhere.
### 3. Adding a device. Adding a device is similar to adding a panel First you click "Add Device" [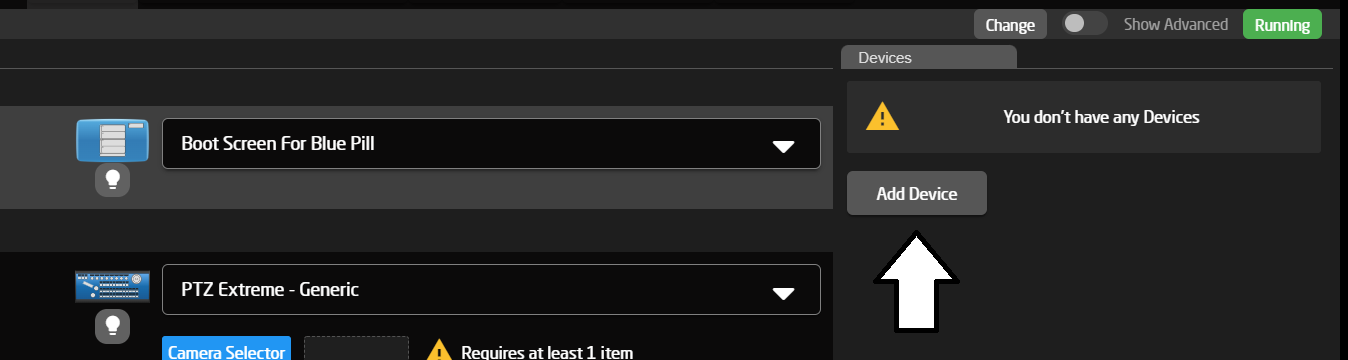](https://wiki.skaarhoj.com/uploads/images/gallery/2022-03/image-1646139314033.png) Now you can add Devices, either by Discovering them on the network, or manually adding them from our list of supported devices. [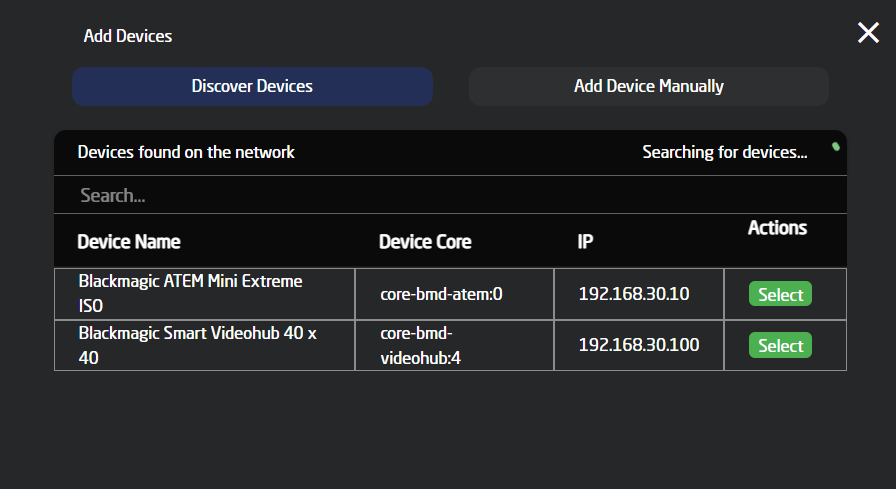](https://wiki.skaarhoj.com/uploads/images/gallery/2022-03/image-1646140430375.png) [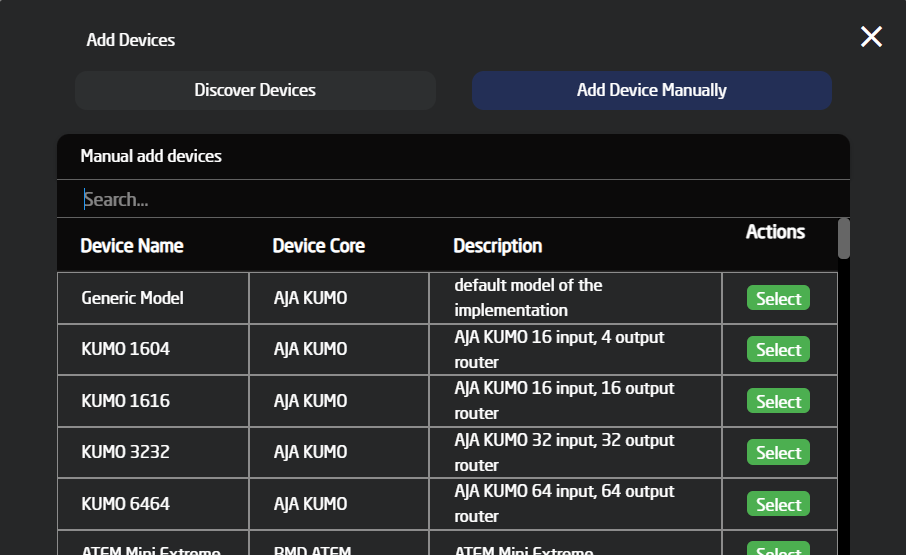](https://wiki.skaarhoj.com/uploads/images/gallery/2022-03/image-1646140469940.png) If you add a device through "Discover Devices" then it will automatically connect, unless a username and password are required for that specific device. If you add a device manually, then you want to enter a IP address in the Device Details Popup, that you access by clicking the title of the device.Just because a device exist in the "Add Device Manually" does not mean, that all functionality of that device has been implemented. To see what is implemented on a device please check the related [device core manual](https://wiki.skaarhoj.com/books/blue-pill-device-cores/page/understanding-device-core-manuals)
Once you have added a device, it is in your device collection. Now we need to assign it to a configuration on a panel. ### 4. Adding a device to a configuration Last step is to add your devices into your currently selected mapping on the panel. Simply press the add button under the dropdown [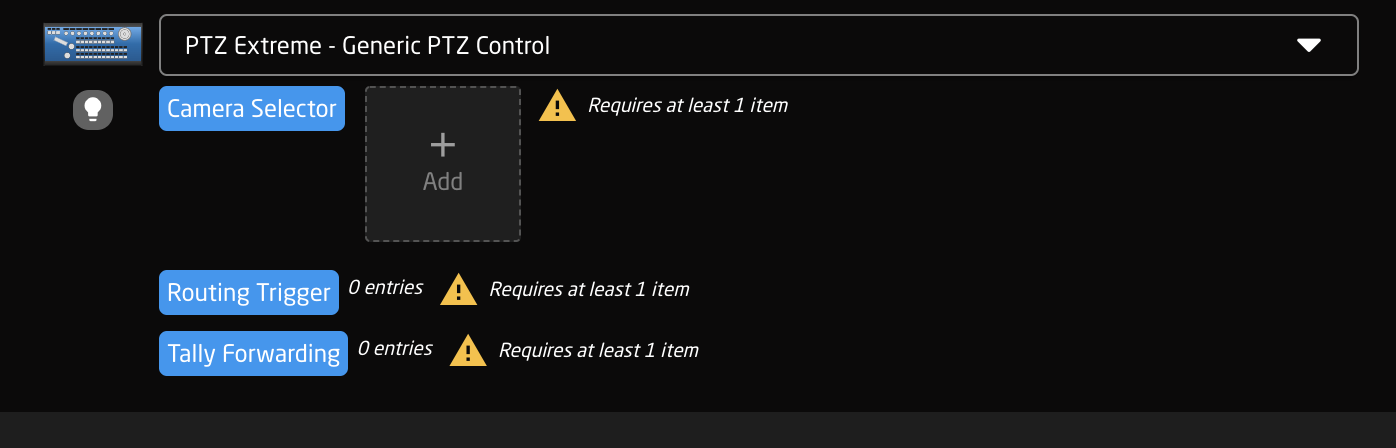](https://wiki.skaarhoj.com/uploads/images/gallery/2022-03/image-1648152068299.png) this will open this popup. [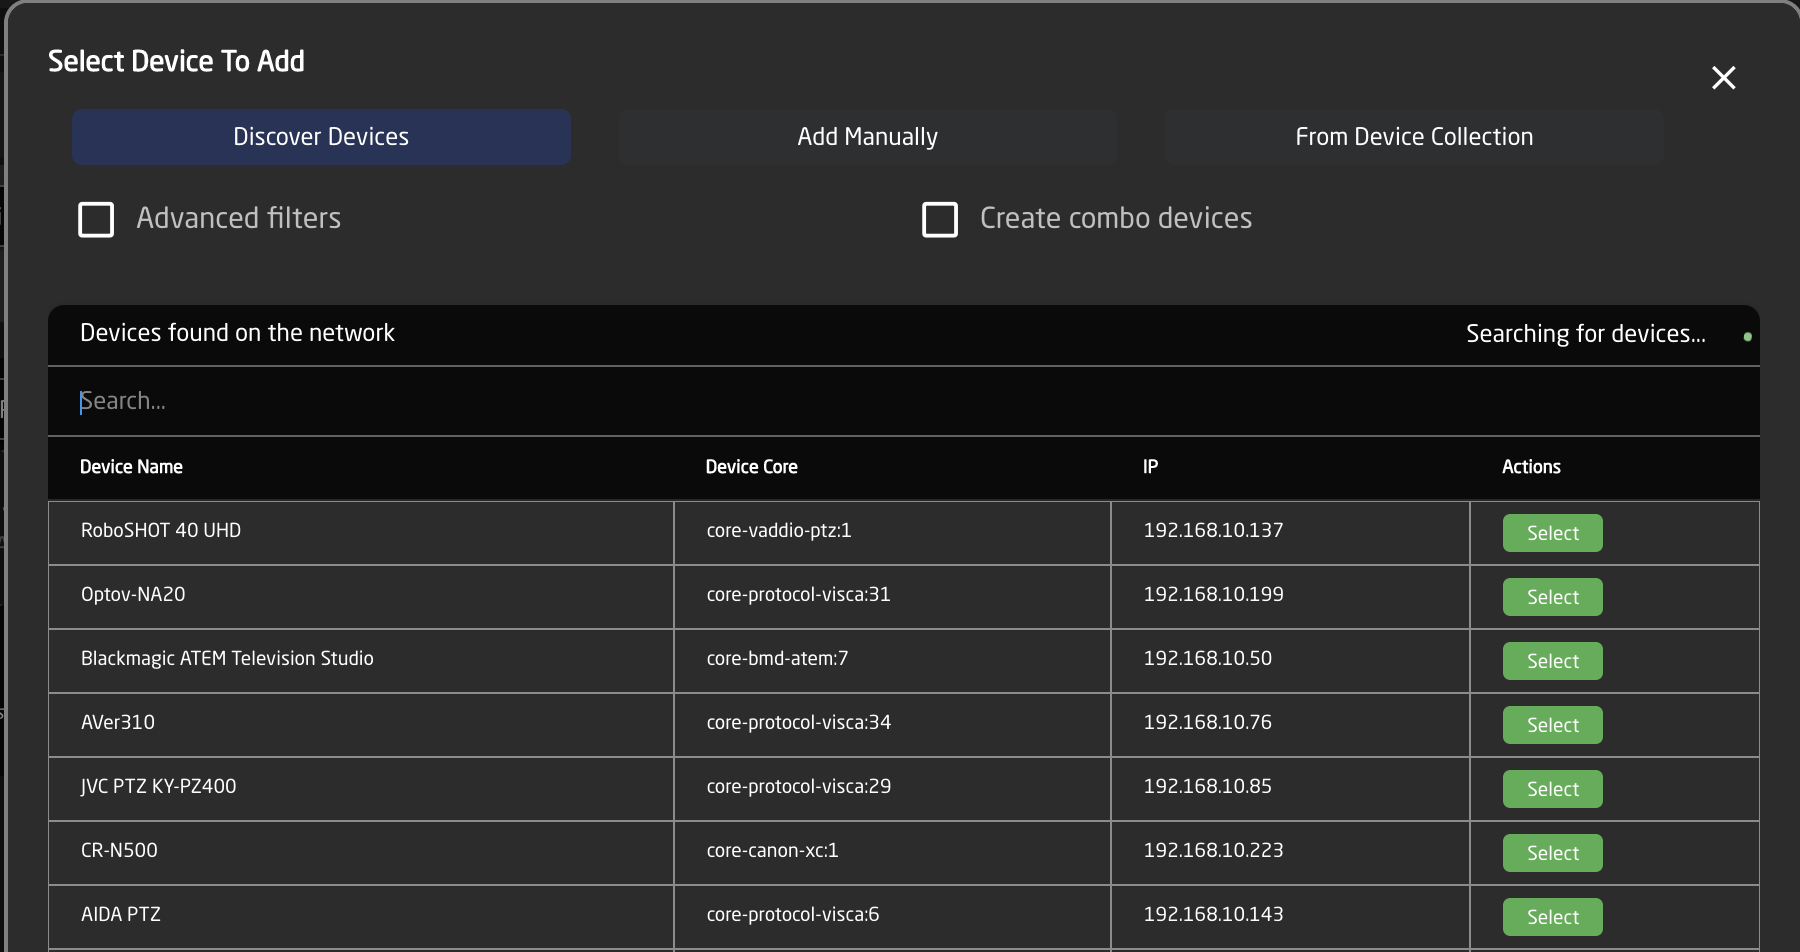](https://wiki.skaarhoj.com/uploads/images/gallery/2022-03/image-1648152128857.png) Here you can either discover new devices, add them manually or select a device from your device collection. [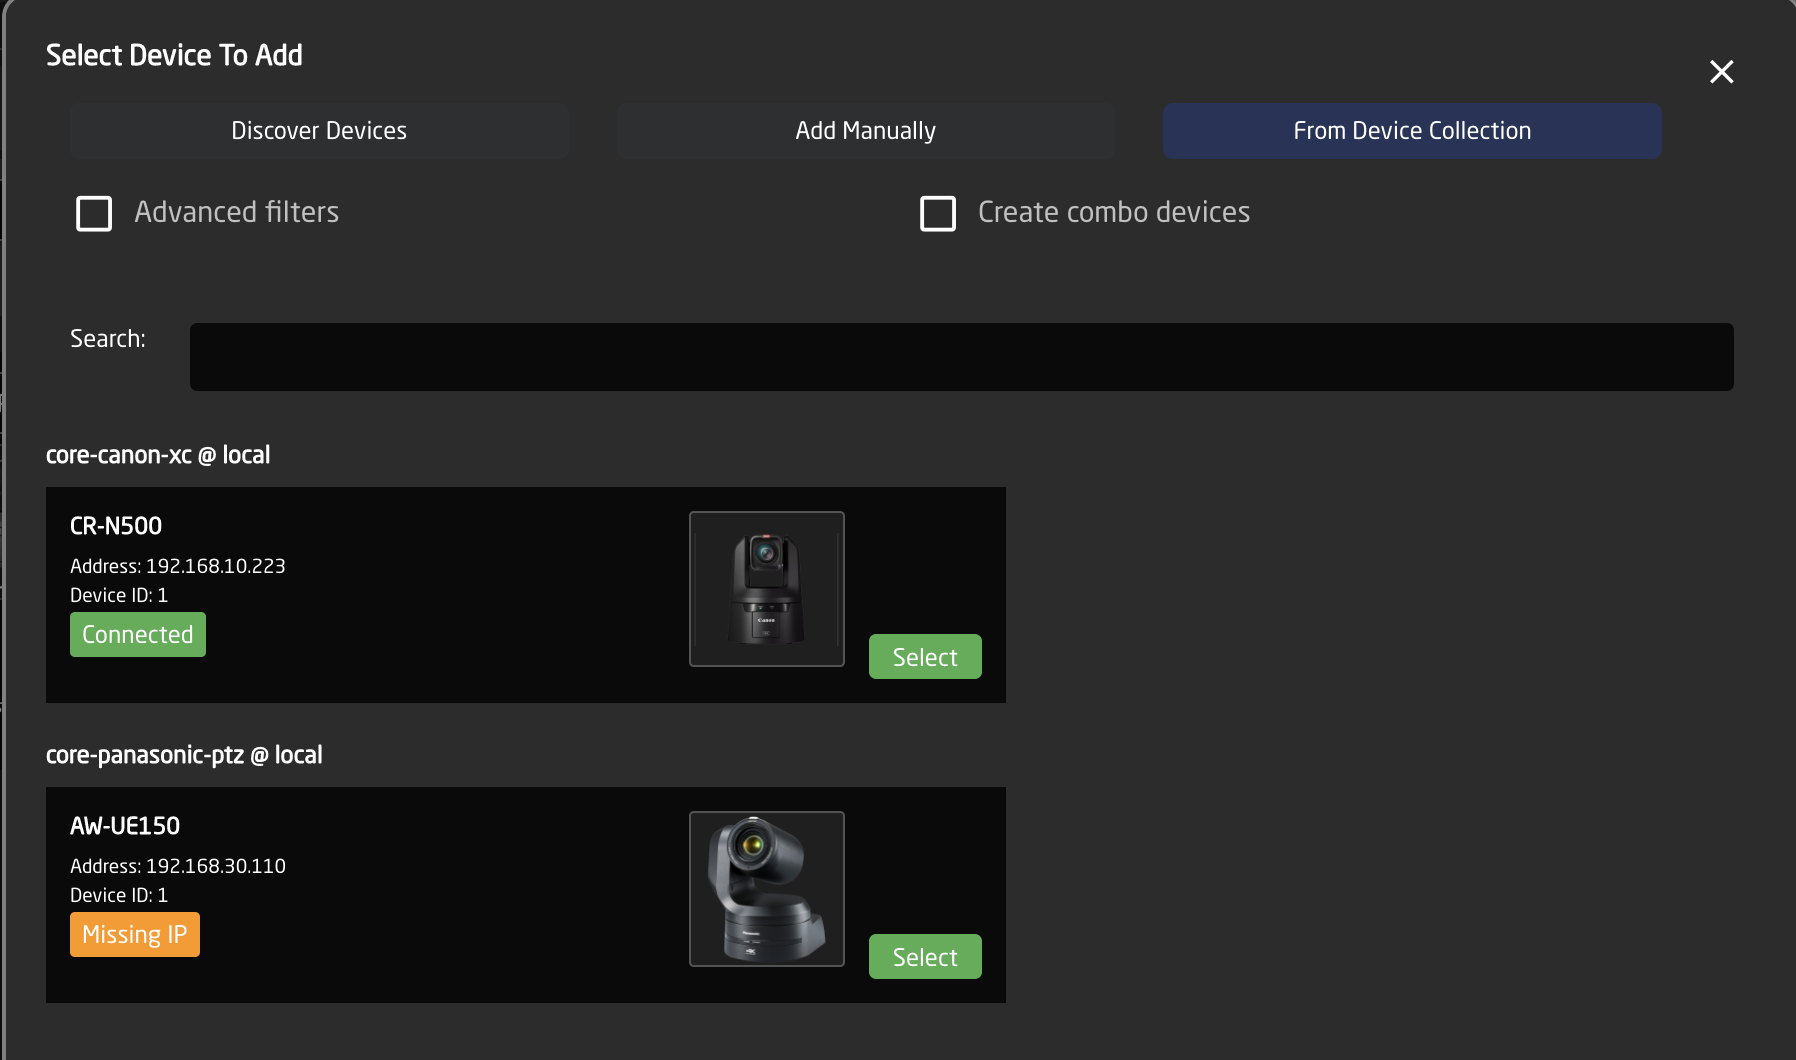](https://wiki.skaarhoj.com/uploads/images/gallery/2022-03/image-1648152277547.png) Once selected, the device is now tied to your configuration and your are ready to produce great content with your SKAARHOJ controller. [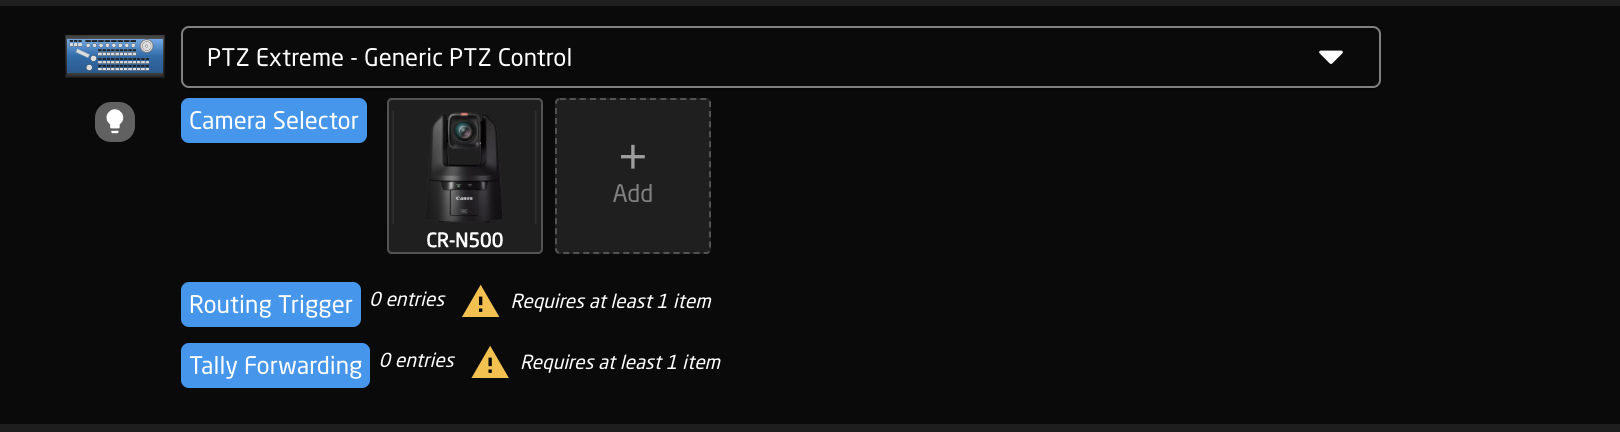](https://wiki.skaarhoj.com/uploads/images/gallery/2022-03/image-1648152388130.png)