Dante
The Dante API Device Core lets a SKAARHOJ controller drive audio and video routing on a Dante network through Dante Director or Dante Domain Manager (DDM). Rather than making the operator deal with Dante’s two-part “device + channel” addressing, you map the channels you care about to plain numbered input and output slots. The controller then routes “input N to output M”, and the core translates that into the correct Dante subscription.
A panel button works in single numbers, so the two-part Dante address has to be flattened into one. That is what the core’s I/O Mapping does — each row ties one Dante device + channel to a number. From then on the panel only thinks in numbers: the routeInputToOutput parameter looks up what each number points to, and the core asks Dante (through Director or DDM) to make or clear the connection.
Connecting to Dante
A device is configured in Reactor’s device-core settings (these are the per-device connection details for the Director or DDM instance you are talking to):
- Model
Dante Director or Dante Domain Manager — which platform manages your domains. Changing the model requires a core reload. - URL
The Managed-API endpoint. For Dante Director this defaults to ‘api.director.dante.cloud:443/graphql’; for DDM use your own host, e.g. ‘your-ddm.example.com:443/graphql’. The/graphqlsuffix is appended automatically if you leave it off, and HTTPS is used unless the core-wide Use HTTP option is enabled. - API Key
Generated in the Director UI (Settings → API Keys → Add Service Key) or in DDM (Settings → Personalization & API Keys). Keys do not expire but can be revoked.
An API key inherits the full access of the account that created it — potentially every site and domain. Treat it like a password: don’t share it, and revoke it in Director/DDM if it is ever exposed.
Once connected, the status pill in the lower-left of the web UI shows “Connected to Dante”; it polls every couple of seconds and turns red if the link to Director/DDM drops.
Opening the web UI
Open Reactor and go to the Packages menu, find the Dante API package and use the button to open its UI. If the core manages several Dante devices, a device selector appears in the lower-left of the sidebar so you can switch between them; the connection pill sits just above it. Everything below happens in this UI.
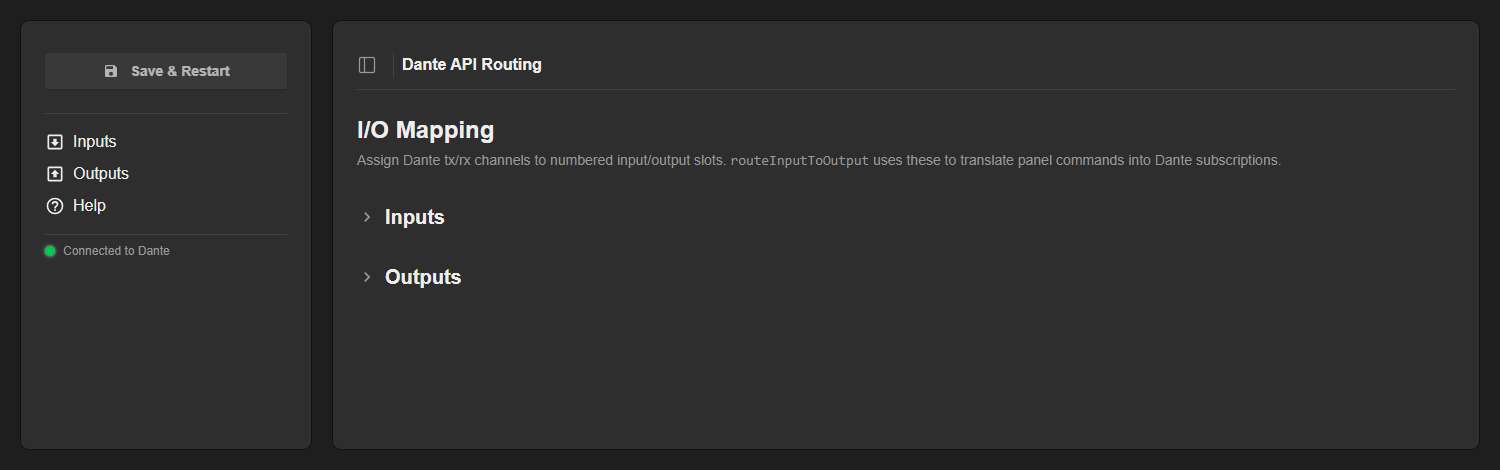
The I/O Mapping page
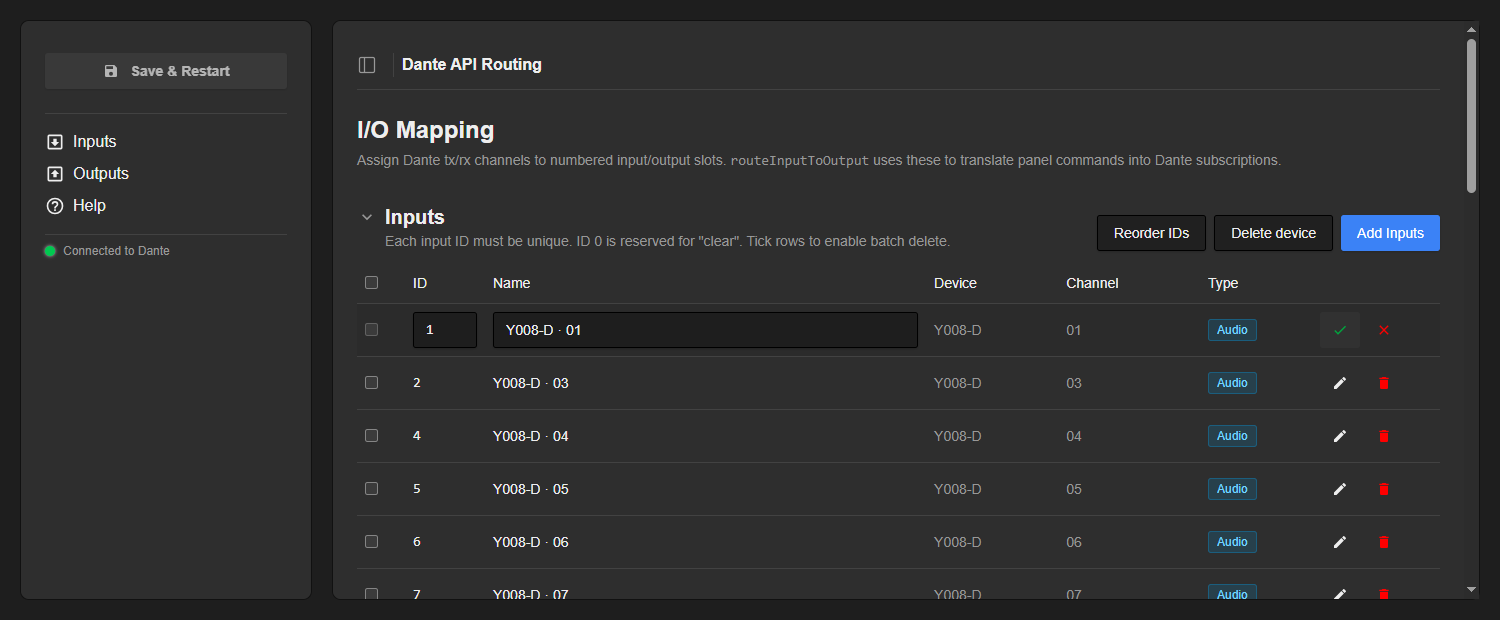
The web UI opens on the I/O Mapping page. The sidebar holds the Save & Restart button, the section navigation and the connection pill; the main area has two collapsible sections, Inputs and Outputs. This is where you decide which Dante channels each numbered slot stands for.
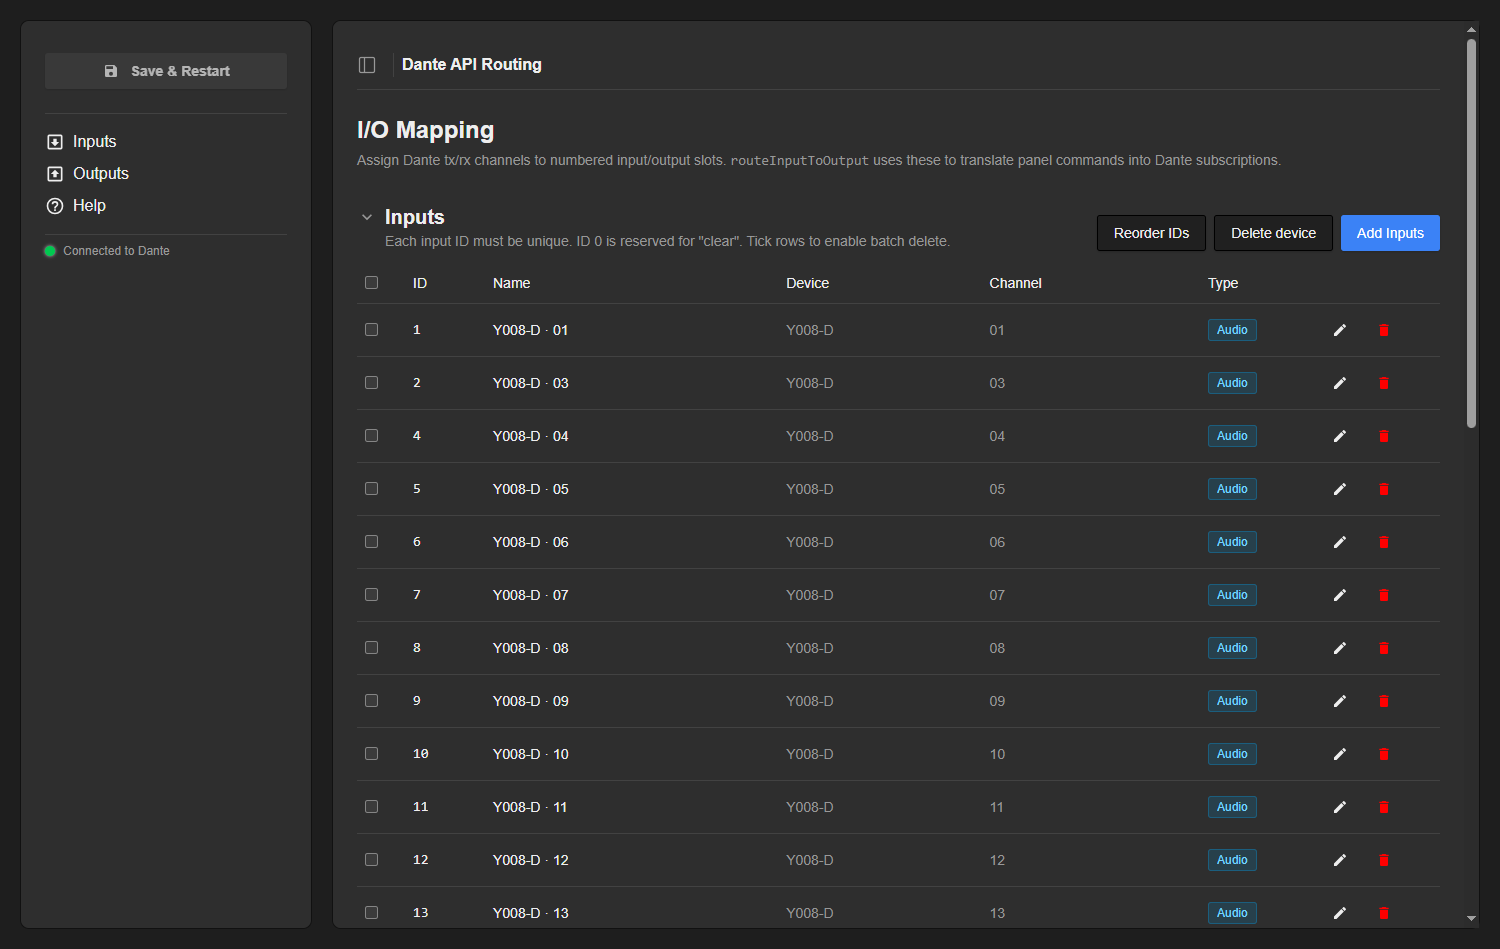
Inputs
Inputs are Dante tx channels (sources). Each row binds a unique integer ID to one tx channel and shows its Name, the source Device and Channel, and a coloured Type badge (audio, video, ancillary…) reflecting the channel’s media type.
Input IDs must be unique. Duplicates are highlighted in red and block saving until you fix them.
ID 0 is reserved for “clear” — routing input 0 to an output unsubscribes it.
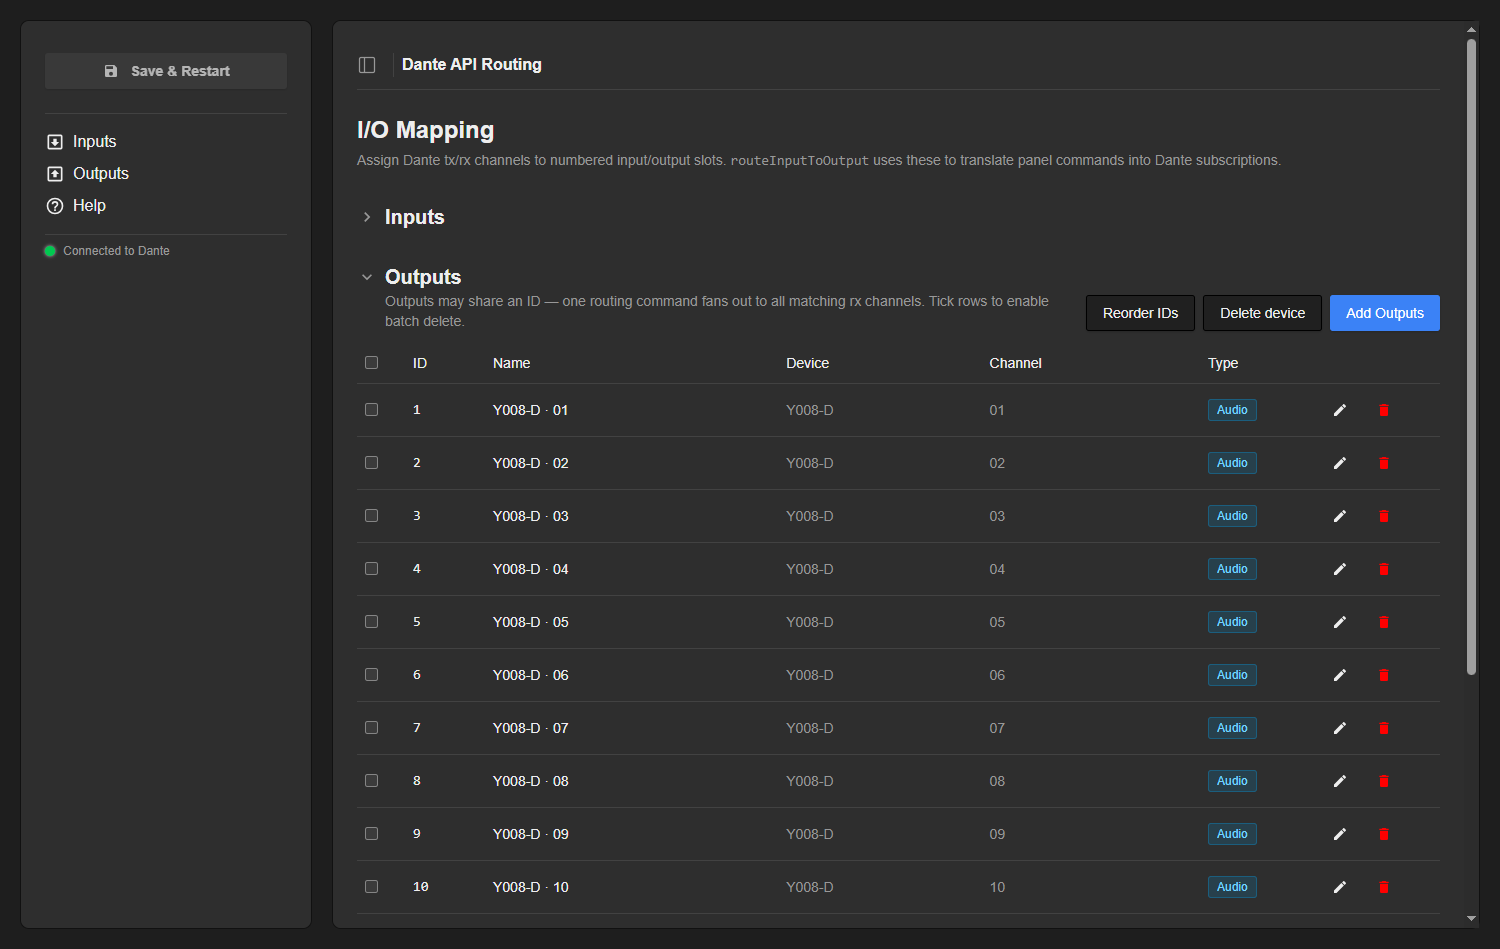
Outputs
Outputs are Dante rx channels (subscribers/receivers). They use the same columns as Inputs, but with one important difference: output IDs may repeat. When you send a routing command for output ID 5, every row tagged 5 is updated — this is how one panel action fans out to several rx channels at once.
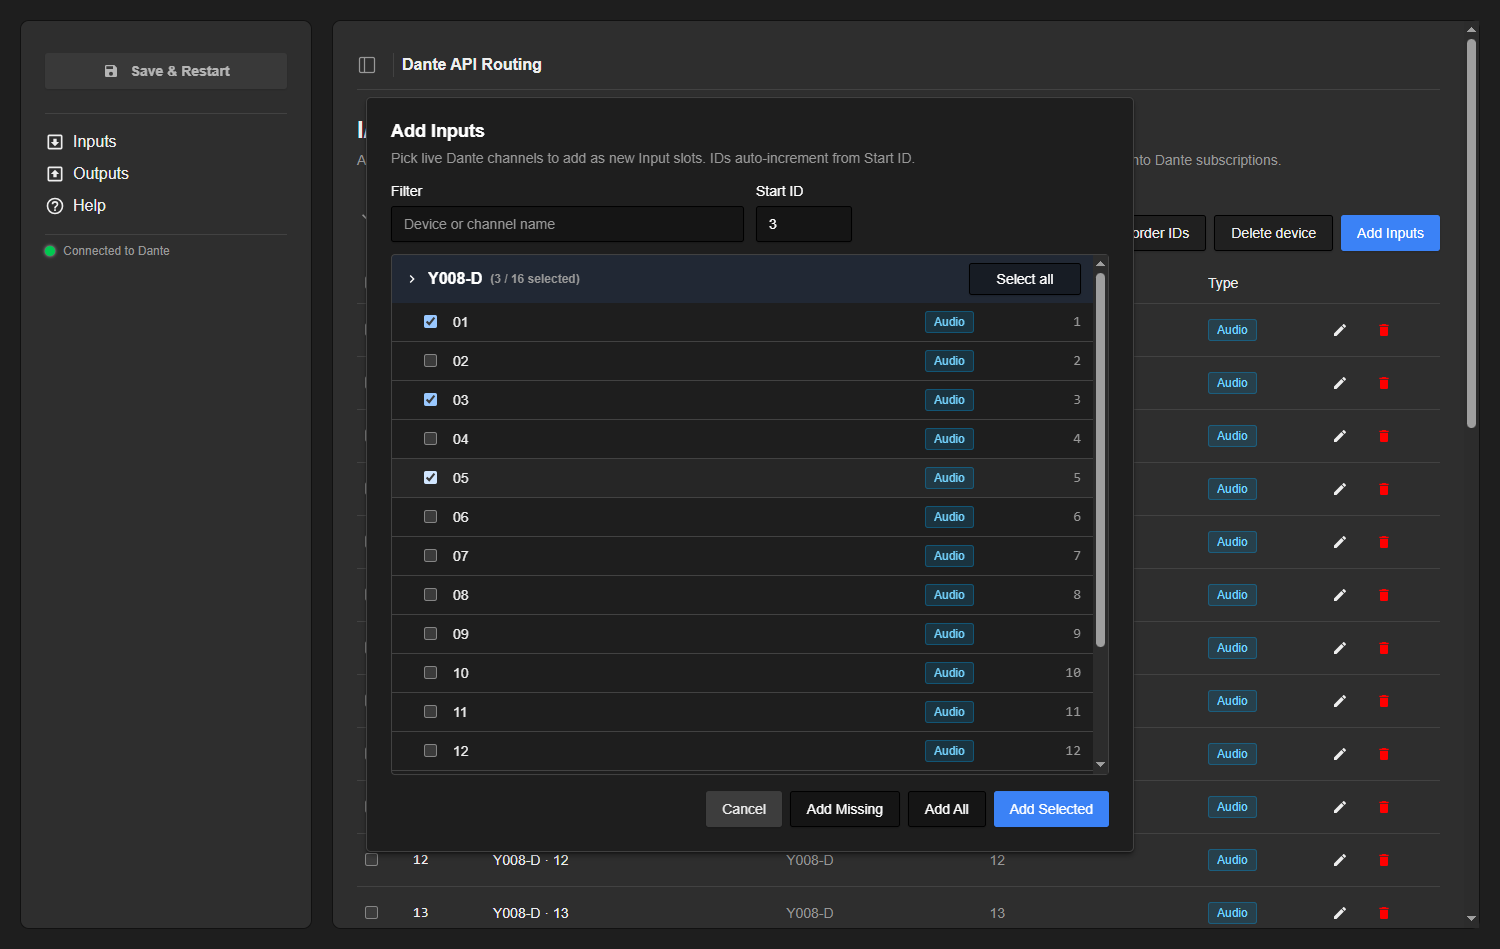
Adding channels
Use Add Inputs / Add Outputs to pick from the channels seen live on the network. Channels are grouped by device into collapsible blocks; type in the Filter box to narrow by device or channel name, and set a Start ID that the new slots auto-increment from. Each device block has a Select all toggle, and every channel carries its media-type badge.
- Add Selected — adds the channels you ticked.
- Add All — adds every live channel in the list.
- Add Missing — adds only channels that are not already mapped, so you can top up after new devices appear.
If the dialog reports “No live channels found”, the core is not connected to a domain (or the domain has no API-visible devices) — check the connection pill.
Editing, reordering & deleting
Rows can be tuned individually or in bulk:
- Edit (pencil) — edit a row’s ID and Name inline; the green check saves, the red cross cancels. The device and channel themselves are fixed by the channel you picked.
- Reorder IDs — renumbers the slots
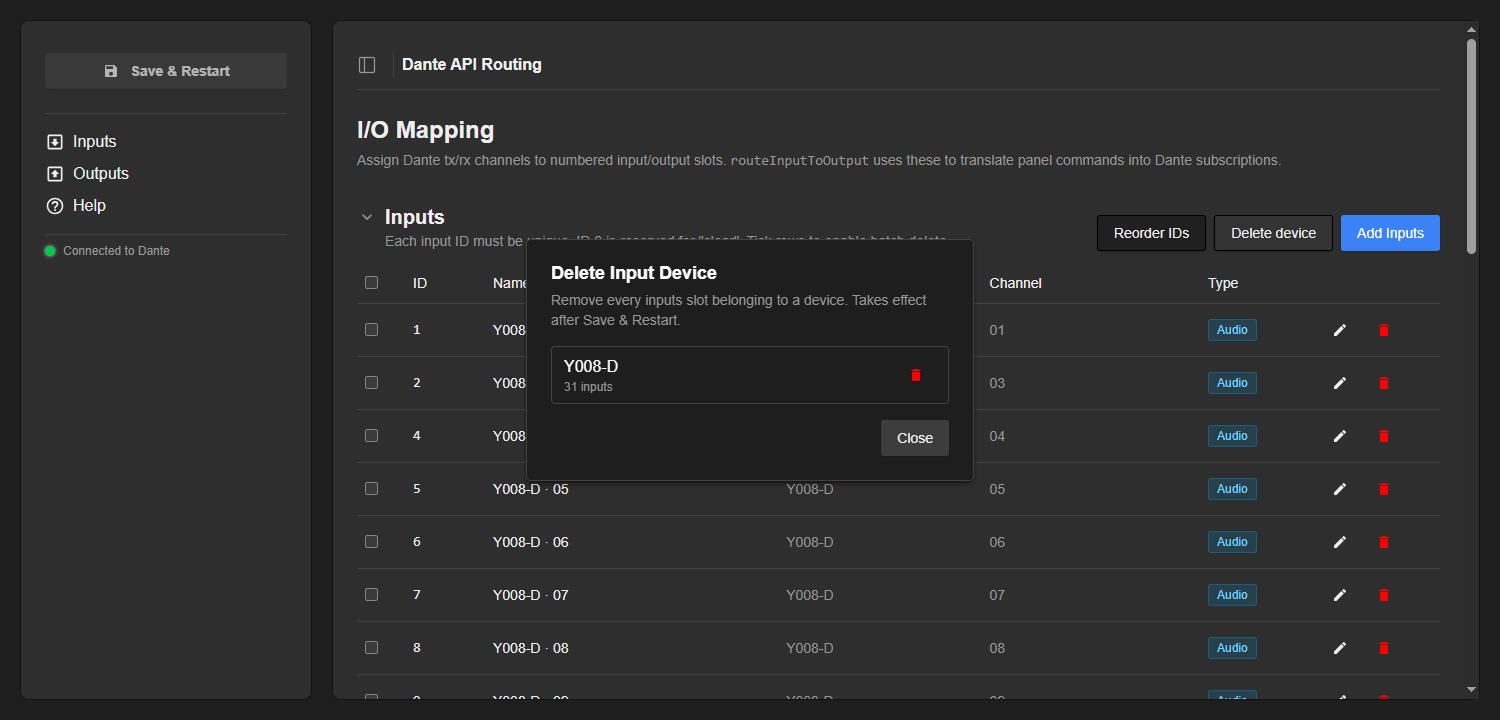
1, 2, 3, …in their current row order, handy after adds/deletes have left gaps. For outputs this makes every ID unique, so it splits any shared-ID fan-out groups. - Delete device — removes every slot belonging to one device in a single step. It is per-section: the button under Inputs only clears that device’s inputs, the one under Outputs only its outputs.
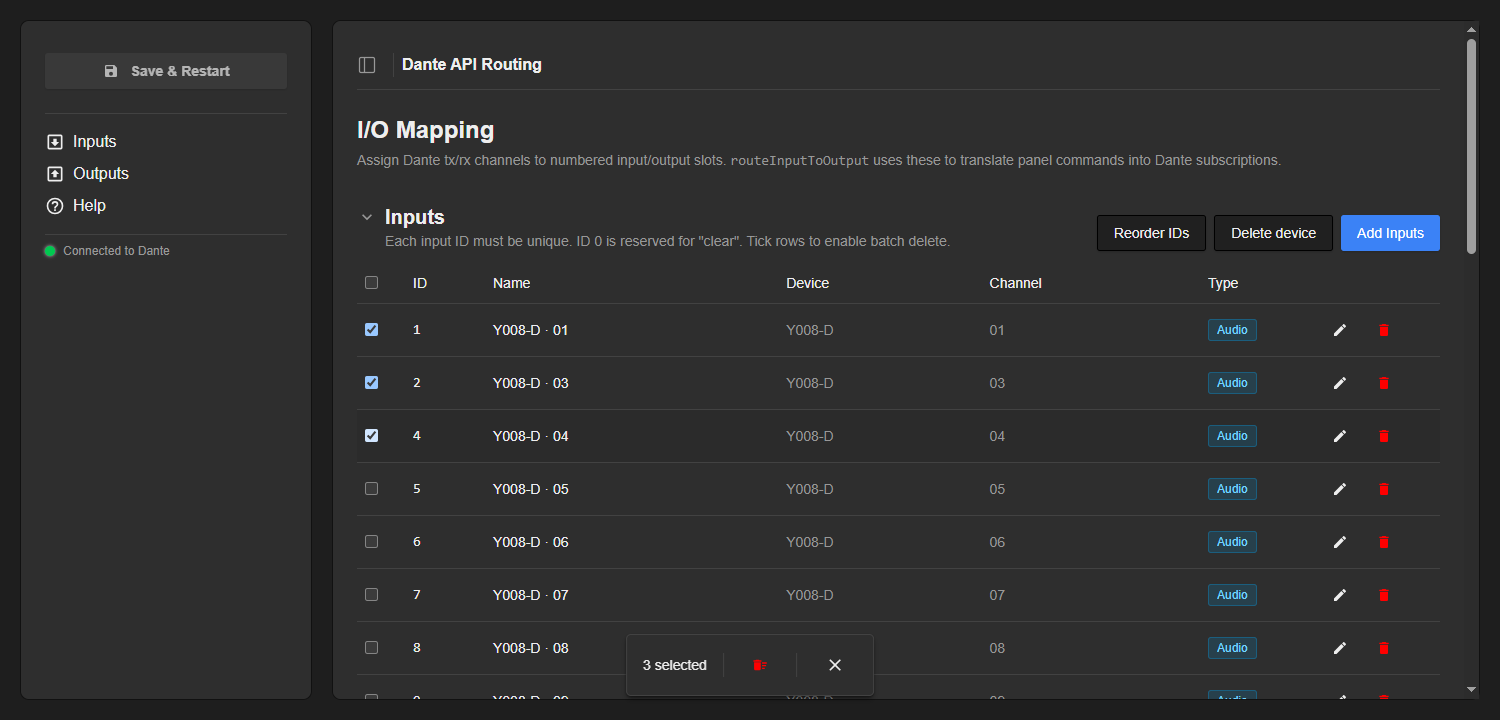
- Batch delete — tick the row checkboxes (or the header checkbox to select all) and a bar appears with a Delete selected button. Individual rows also have a trash icon.
Delete device, Delete selected and the row trash icon remove slots from your draft with no undo button. The change only becomes permanent when you Save & Restart — until then the saved configuration on the device is untouched.
Save & Restart
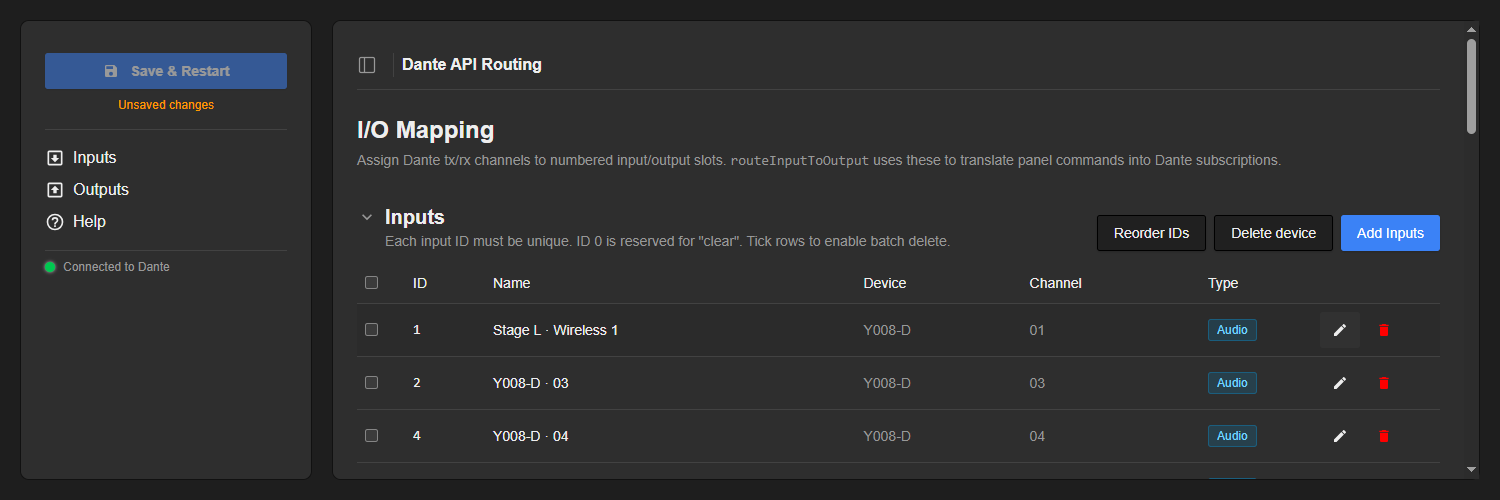
Edits are kept in a draft until you press Save & Restart. While there are unsaved changes the button turns blue and pulses and an “Unsaved changes” note appears.
Save & Restart restarts the core. The numbered-routing parameters are sized and labelled from your mapping, so their shape only updates on restart. Make all your edits first, then save once.
Using it from a panel
Once a mapping is saved, the core exposes two parameters under routing for everyday operation:
routeInputToOutputOpt— recommended. Routing as an option list, so the operator can pick the input by name instead of by number. The dimension index is the output ID. Option 0 is N/A (clears the output), and any gaps in your input numbering show up as “(unused N)”.routeInputToOutput— the same routing as a plain integer. The value is the input ID; the dimension index is the output ID. Send0to clear that output. The value range and dimension count are sized to the highest input / output IDs you configured.
For everyday operation reach for routeInputToOutputOpt — picking the input by name reads far more clearly on the panel than a raw number.
The output dimension’s element labels are taken from the names you gave the outputs (when several outputs share an ID, their names are joined with “ + ”), so the routing reads clearly in Reactor.
Direct routing (advanced)
For ad-hoc routing without a numbered map, the core also exposes a manual selection workflow. You browse the domain directly and connect any receiver channel to any transmitter channel:
- Domain —
current_domainselects which domain to control, with read-onlydomain_nameand status read-outs (domain_status_clocking,…_connectivity,…_latency,…_subscriptions,…_summary). - Receiver —
rx_devicethenrx_channelchoose the receive channel to change (rx_channel_typereports each channel’s media type). - Transmitter —
tx_devicethentx_channelchoose the source to feed it (tx_channel_typeper channel;current_tx_device/current_tx_channelread back what is currently feeding the selected receiver). - Control —
modeswitches between Take Mode and Direct Mode. In Take Mode changes are staged and committed withtake(or rolled back withrevert);take_or_clearcommits pending changes or, if none, clears the selected receiver. In Direct Mode each selection applies immediately.
Troubleshooting
- Pill shows “Disconnected” — check the URL, that the API key is valid and has access to the relevant site/domain, and that Director/DDM is reachable. Only enable Use HTTP for a non-TLS endpoint.
- “No live channels found” in the Add dialog — the core is not connected to a domain, or the domain has no API-visible devices. Note that the Dante Managed API does not expose legacy (pre-4.0) devices, the virtual devices used for Shared Audio Groups, or AES67 / SMPTE 2110 subscriptions.
- Duplicate input IDs (red rows) — two inputs share an ID; saving is blocked until you fix or remove one (or use Reorder IDs).
- A change isn’t visible in Reactor — mapping edits only reach the controller after Save & Restart, because they change the routing parameters’ shape.
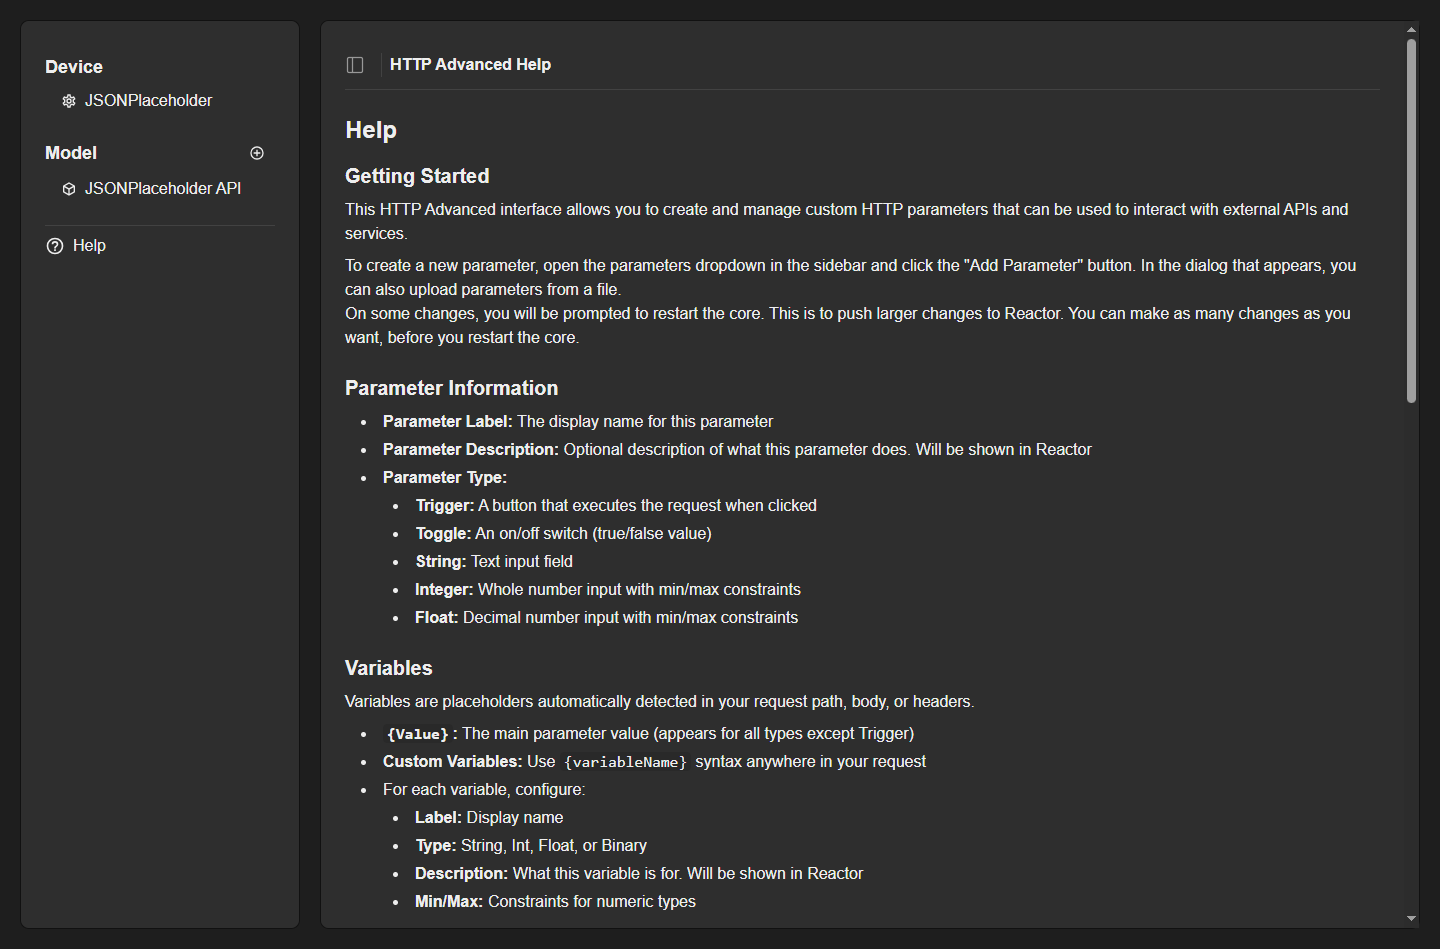
Built-in Help
The web UI has a built-in Help page summarising what the core does, how to configure the mapping for AV technicians, and the routing parameters for integrators — a quick reference while you work.
Reference
Routing parameters (numbered): routeInputToOutputOpt (option list; input by name — recommended) and routeInputToOutput (integer; value = input ID, dimension = output ID, 0 = clear).
Direct parameters: current_domain, domain_name, domain_status_*; rx_device, rx_channel, rx_channel_type; tx_device, tx_channel, tx_channel_type, current_tx_device, current_tx_channel; take, take_or_clear, revert, mode (Take / Direct).
Concepts: Inputs = Dante tx channels (unique IDs; ID 0 = clear); Outputs = Dante rx channels (IDs may repeat for fan-out). Mapping changes take effect after Save & Restart.