**Transmission IP** (IP where Zoom OSC will send messages to) *This should be the Bluepill IP address*
**Transmission Port** (port where Zoom OSC will send messages to) *This value is used by Reactor to receive information from Zoom OSC*
**Receiving Port** (port where Zoom OSC will listen for messages) *This value is used by Reactor to send information from Zoom OSC*
#### **Window 2:** The other window will allow you to join a Zoom meeting or webinar. [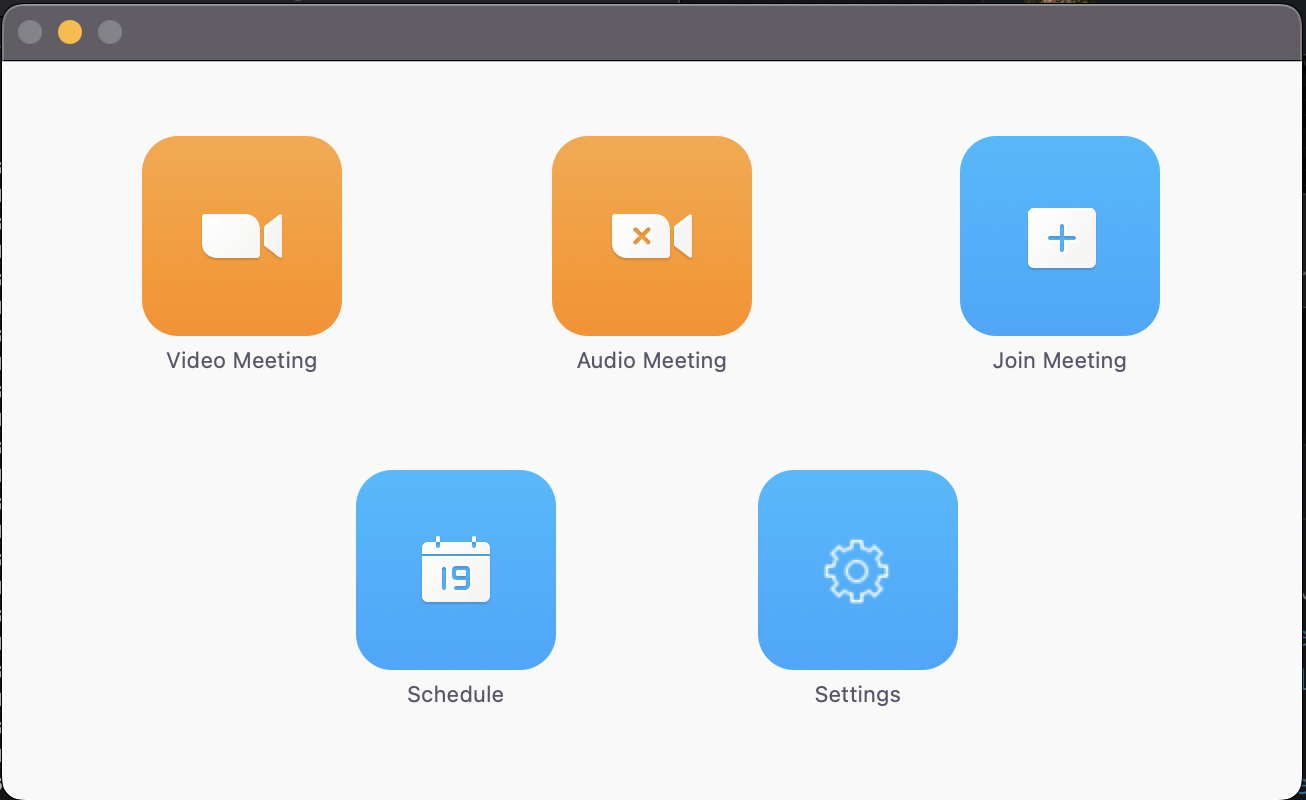](https://wiki.skaarhoj.com/uploads/images/gallery/2022-05/image-1651756678660.png)| Step 1 | **Install Zoom OSC** | If you haven't already now is the time to download and install the Zoom OSC software [https://www.liminalet.com/zoomosc](https://www.liminalet.com/zoomosc) Works on MacOS and Windows 10 |
| Step 2 | **Install package** | To control Zoom OSC from a Skaarhoj controller go to your bluepill via reactor. Navigate to the Packages tab and search for “Zoom OSC” |
| Step 3 | **Add Device** | When the devicecore is installed correctly you can now search for “Zoom OSC” in the Device tab from Home. Difference for ZoomOSC Essentials - Choose this device if you only use the free version of Zoom OSC ZoomOSC Pro - Choose this device if you have a paid licence for Zoom OSC ZoomOSC Pro Advanced - This has extra features, but isnt fully supported yet |
| Step 4 | **Setting up the Device** | **IP address:** This IP address should be the PC running Zoom OSC **Receiving Port & Transmission Port:** Find ports in Zoom OSC Networking Settings The value Transmission Port in Zoom OSC should be the Receiving in Reactor The value Receiving Port from Zoom OSC should be the Transmitting in Reactor |
| Step 5 | **Adding Panel & choosing the right configuration** | Make sure the XP24 is turned on. Now it should say “Waiting for raw panel”, and display its IP address In Reactor you can now press Add Panel. Search or find your XP24 panel. If it's not automatically detected you can choose to manually add it. Go to the tab “Add Panel Manually” When added you can make sure the configuration is set to ZoomOSC And now the panel will display one message “Meeting OFF”, meaning that is has connection to Zoom OSC on your computer and waiting for you to start a video meeting |