Raspberry Pi Media Player from SKAARHOJ
This page aims to assist you in getting started with SKAARHOJ's Raspberry Pi-based media player. This isn't a product for sale; It's offered free of charge with no guarantee of fitness for any particular purpose. Under these conditions, you're free to use it as you wish. Internally, we utilize it as a cost-effective solution for playing back video and image content during demonstrations.
Features
The media player is designed to operate on a standard off-the-shelf Raspberry Pi 4 or 5 as a binary application. It utilizes common applications like ffplay, ffmpeg, ffprobe (which are standard on the Pi), as well as VLC and mplayer in certain instances.
Features include:
- Full-screen playback of video, audio, and image files.
- Options for looping, exiting, or freezing after playback.
- Ability to create playlists for videos, audio, or images using VLC.
- Full-screen display of rtsp streams and webpages.
- Full-screen webcam viewing.
- Remote control through a web browser on port 8080, capable of controlling similar devices on the network.
- Compatibility with SKAARHOJ panels for control via the built-in device core interface.
- Media accessibility through a simple USB key.
- Autoplay feature upon startup.
- Configuration settings stored in a JSON file.
- Extraction of meta data and thumbnails.
The media player is intended to connect to a screen or video processor system through its HDMI-1 output.
Web UI
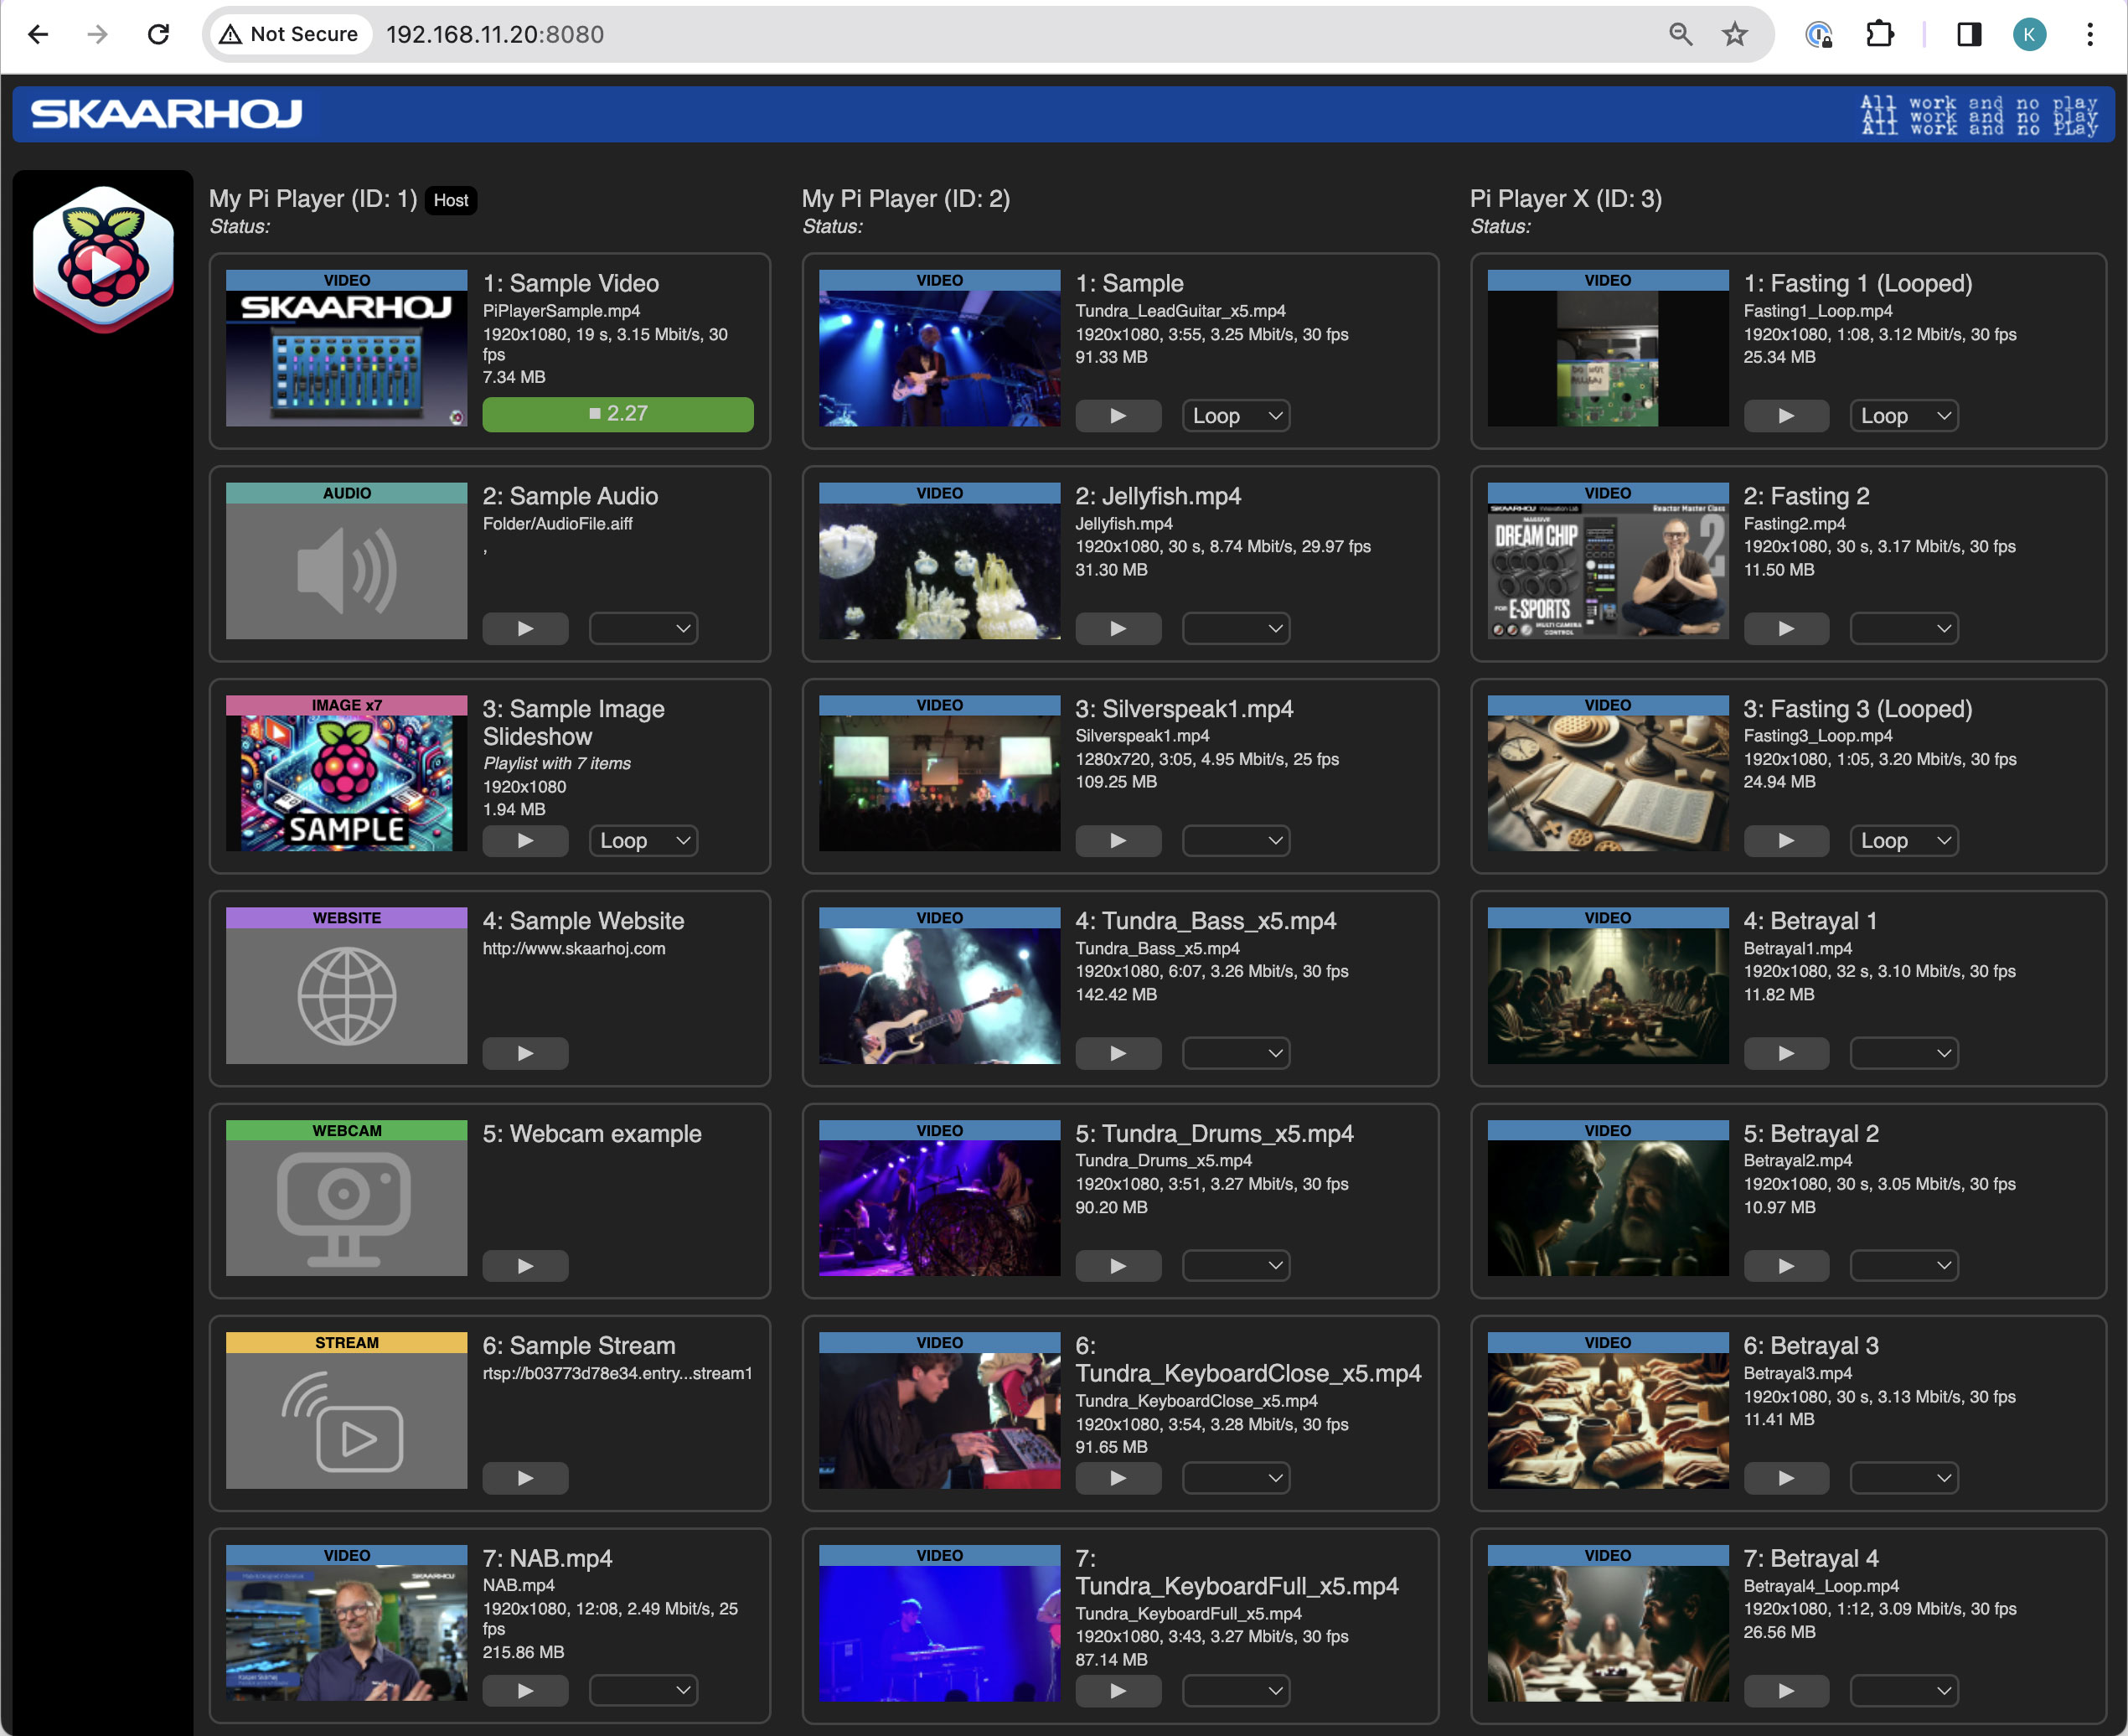
The web UI of the player is depicted in the screenshots below. The first screenshot displays three columns, each representing a player found on the network, identified by distinct IDs and names. The first player (ID: 1) also hosts the web view, although in reality, all players display the same interface. When a new player is added to the network, the existing players will detect it and include it in this web UI.
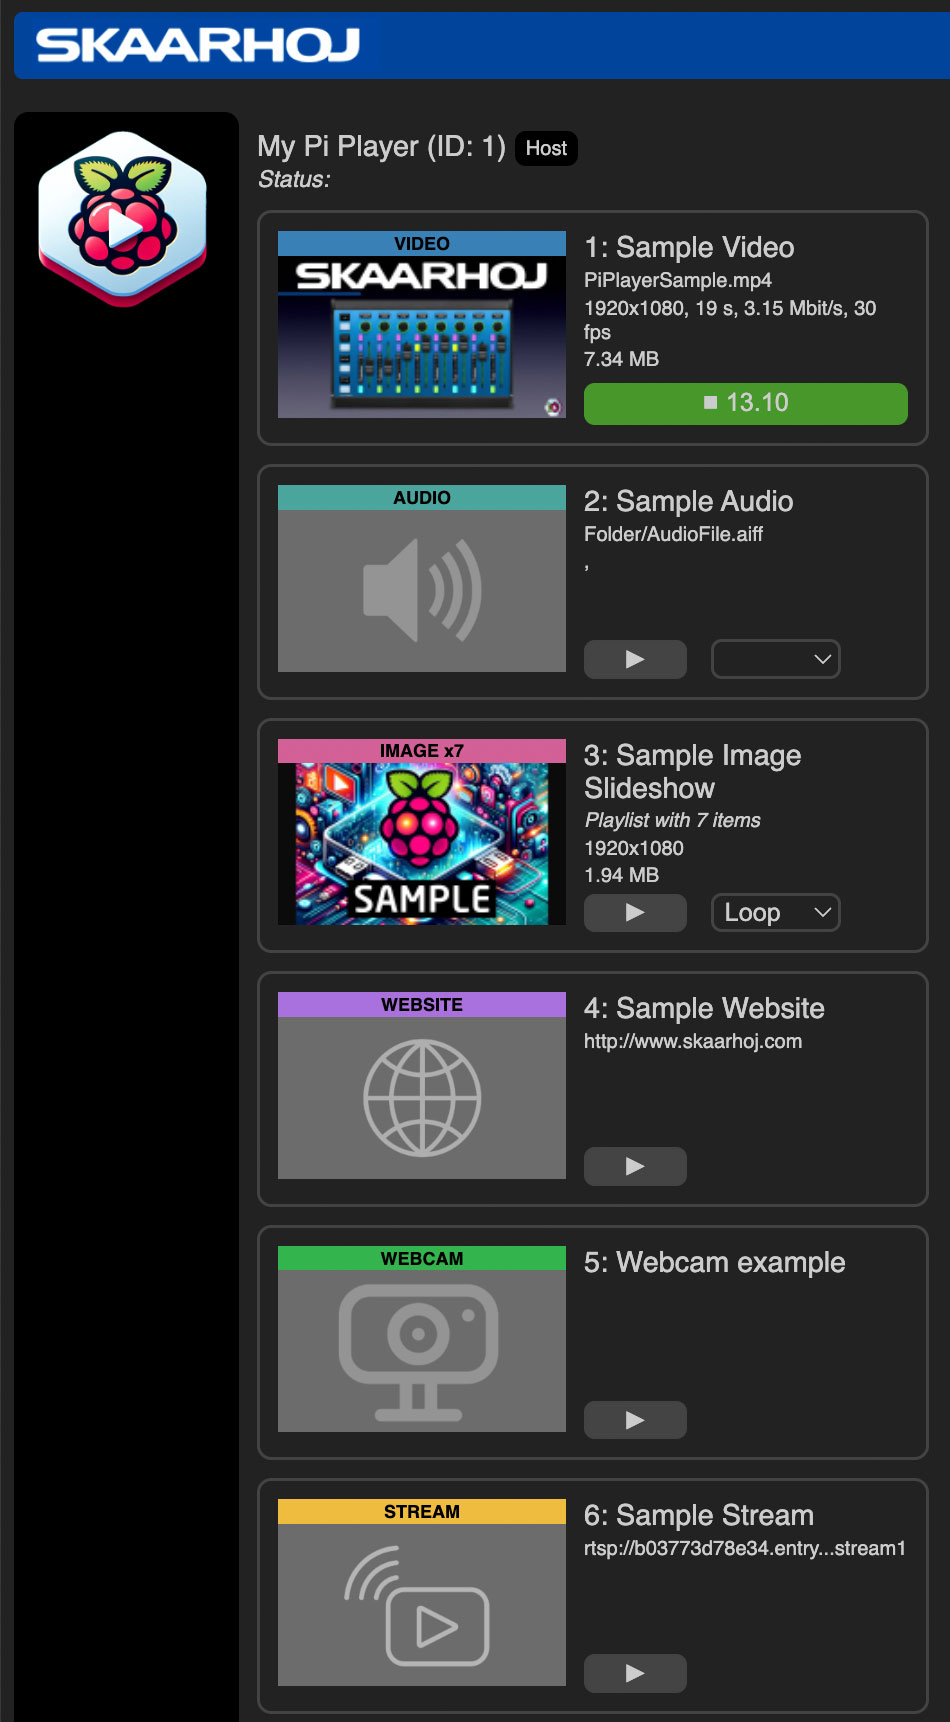
Here's a closer look at just one of the players (the host player). The media player automatically generates thumbnails when possible, but also permits you to specify your own file for use as a thumbnail if desired. It extracts relevant metadata from the files and displays this information too. During playback, you will often see a counter indicating the current position of the player.
Device Core API
The player is equipped with a Device Core API, signifying that panels from SKAARHOJ, specifically those utilizing the Reactor application, will inherently support control over the media player. This integration allows users to seamlessly manage playback, and other functionalities of the media player directly from their SKAARHOJ panels. The Device Core API facilitates a direct communication channel between the media player and the panels, ensuring a smooth and responsive user experience.
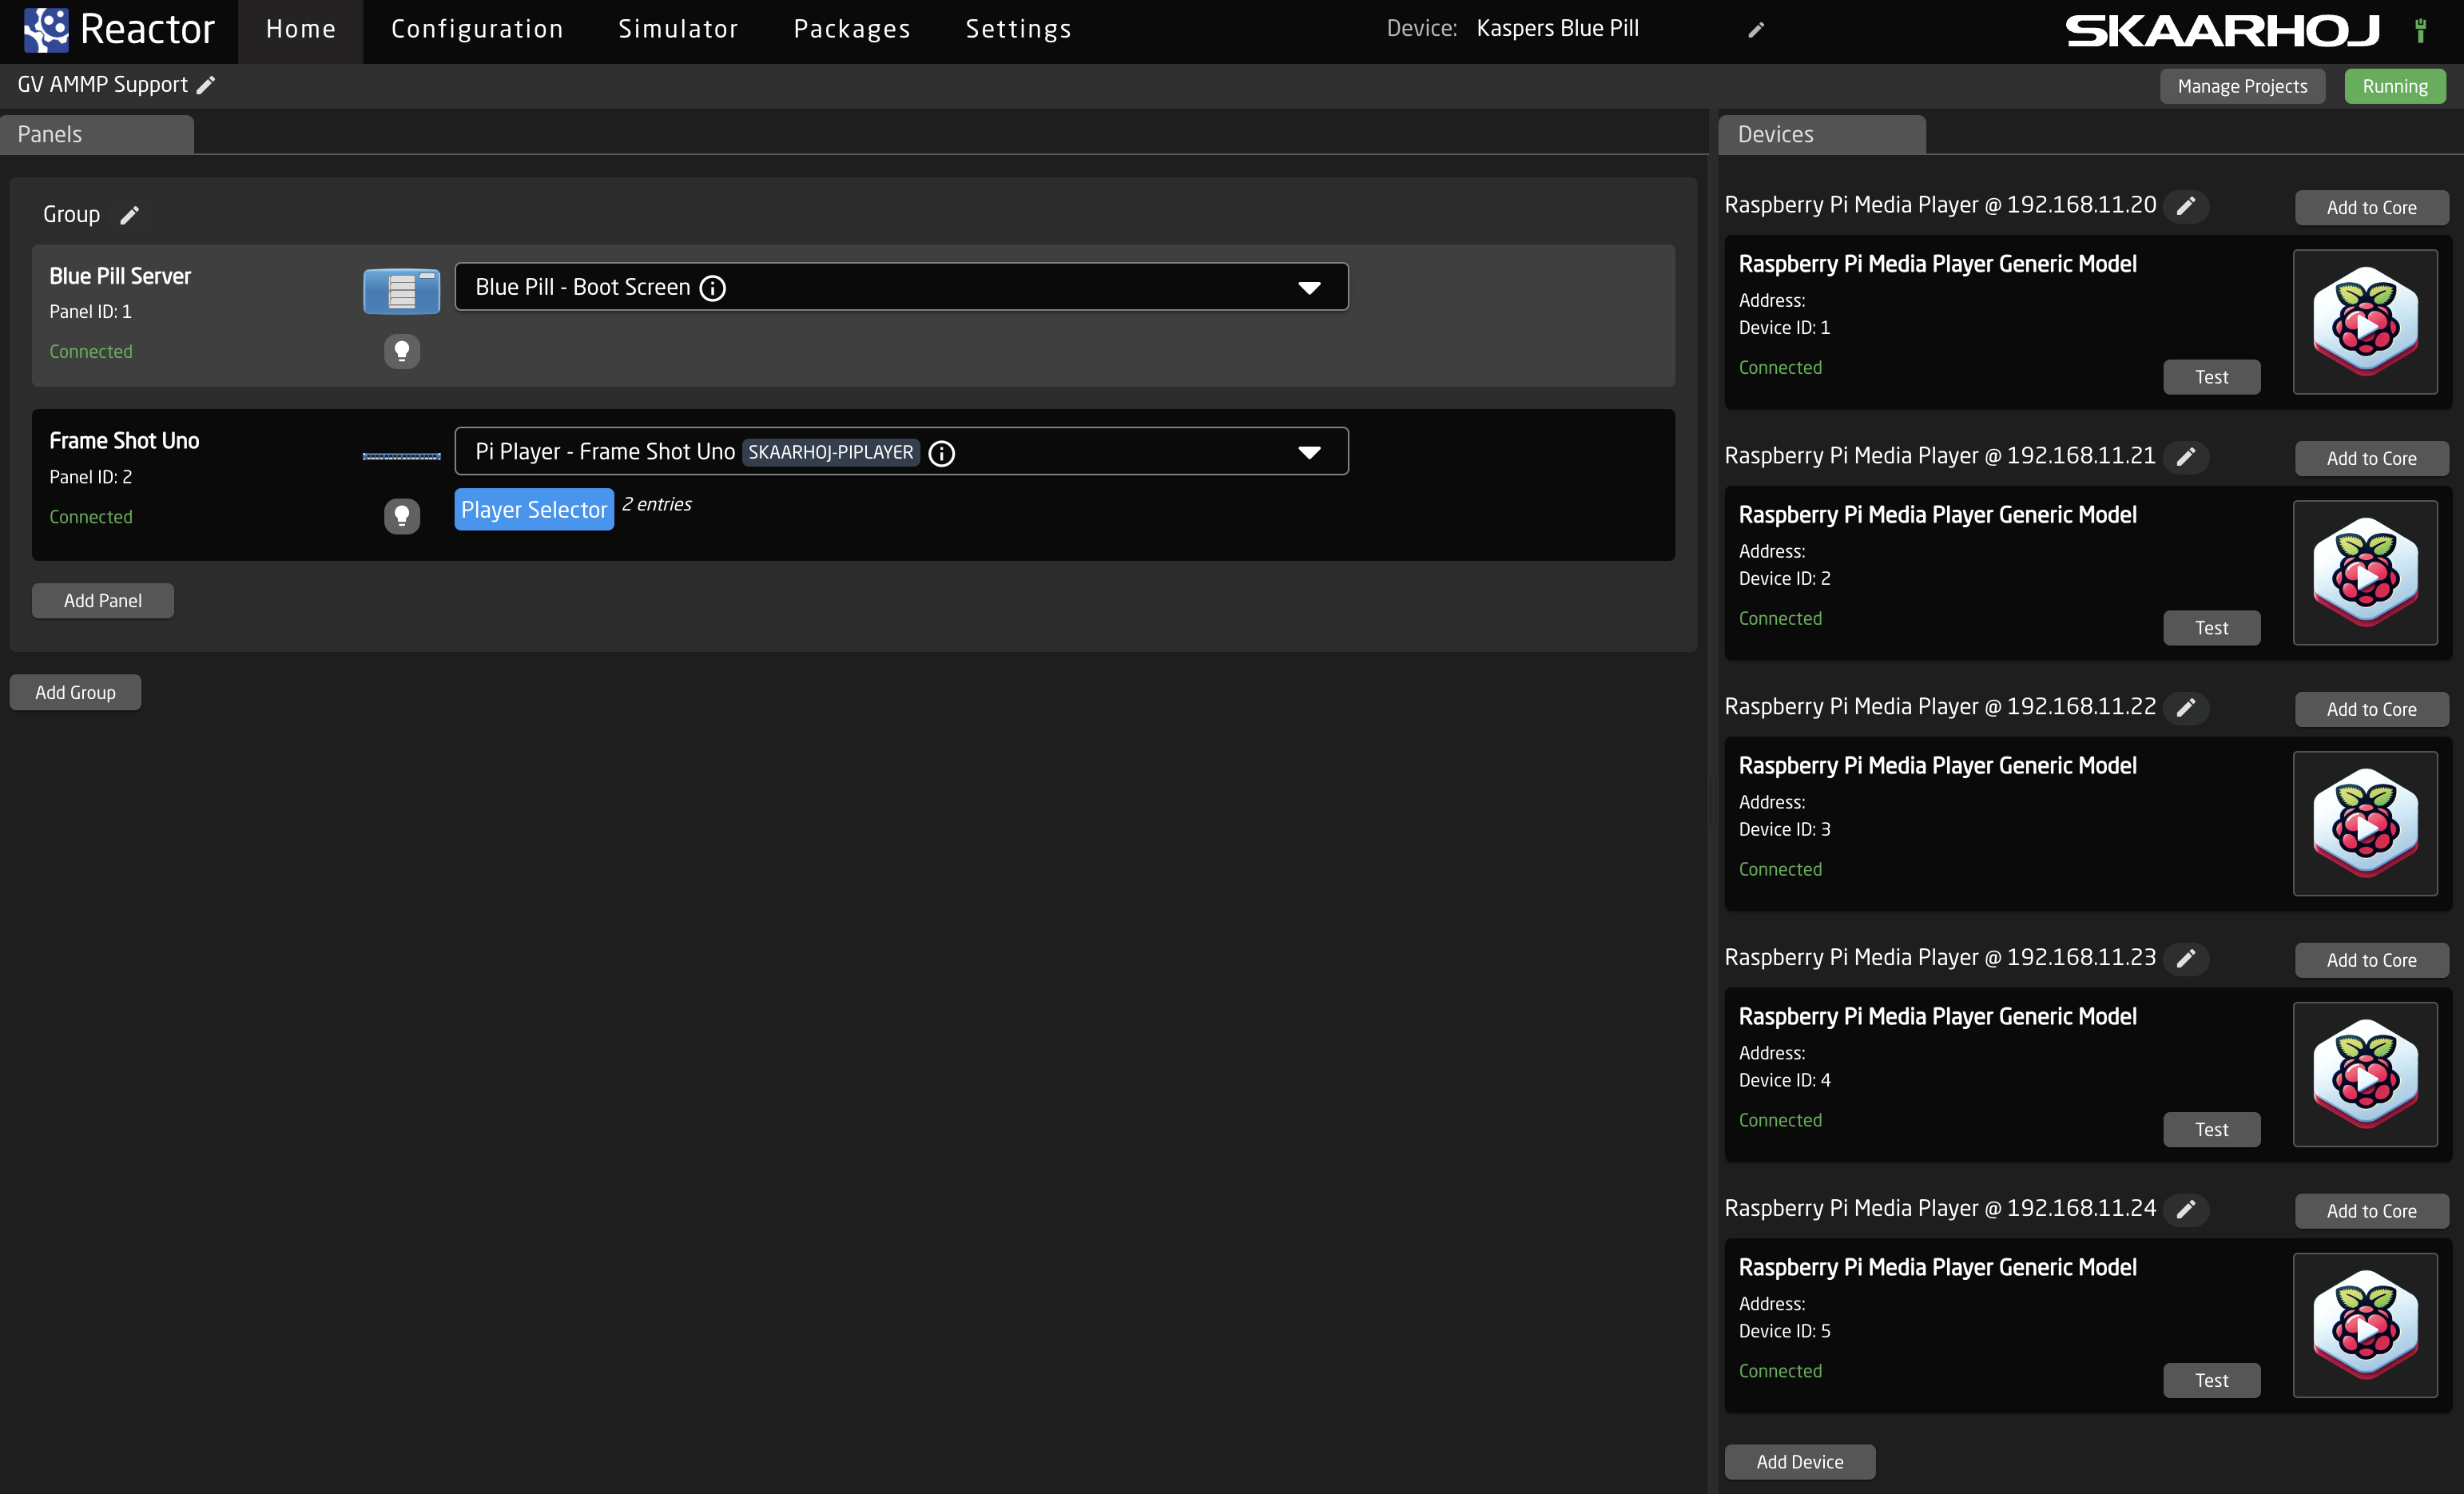
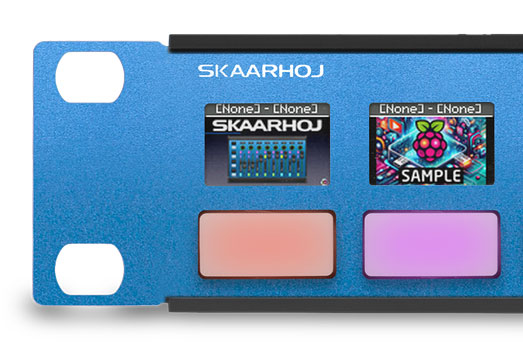
Incorporating panels like Frame Shot Pro or Frame Shot Uno extends the functionality to include displaying thumbnails of the media files available. This feature enriches the user interface by providing visual cues about the content, enhancing the ease of media selection. Such a capability is especially useful in environments where quick identification of media is crucial, allowing users to efficiently manage and control playback directly from these panels.
Installation
This guide is applicable to both Raspberry Pi 4 and 5 models, utilizing the Raspberry Pi OS available in either 32-bit or 64-bit versions. Detailed instructions for installation can be found in a separate article focused on Densitron screens. Please refer to that article and follow it up to the section titled 'Preparing the Operating System to run the Densitron screen over USB.' From that point onward, continue with the instructions provided below.
Preparing the Operating System to run the SKAARHOJ Media Player
- Insert the microSD card into the Raspberry Pi
- Connect an HDMI monitor to Micro-HDMI plug closest to the USB-C plug on the Pi (HDMI-1)
- Insert a newly formatted USB key (MS-DOS FAT32) into one of the USB slots of the Pi
- Connect the Ethernet jack to your network
- Connect your power supply to boot it up.
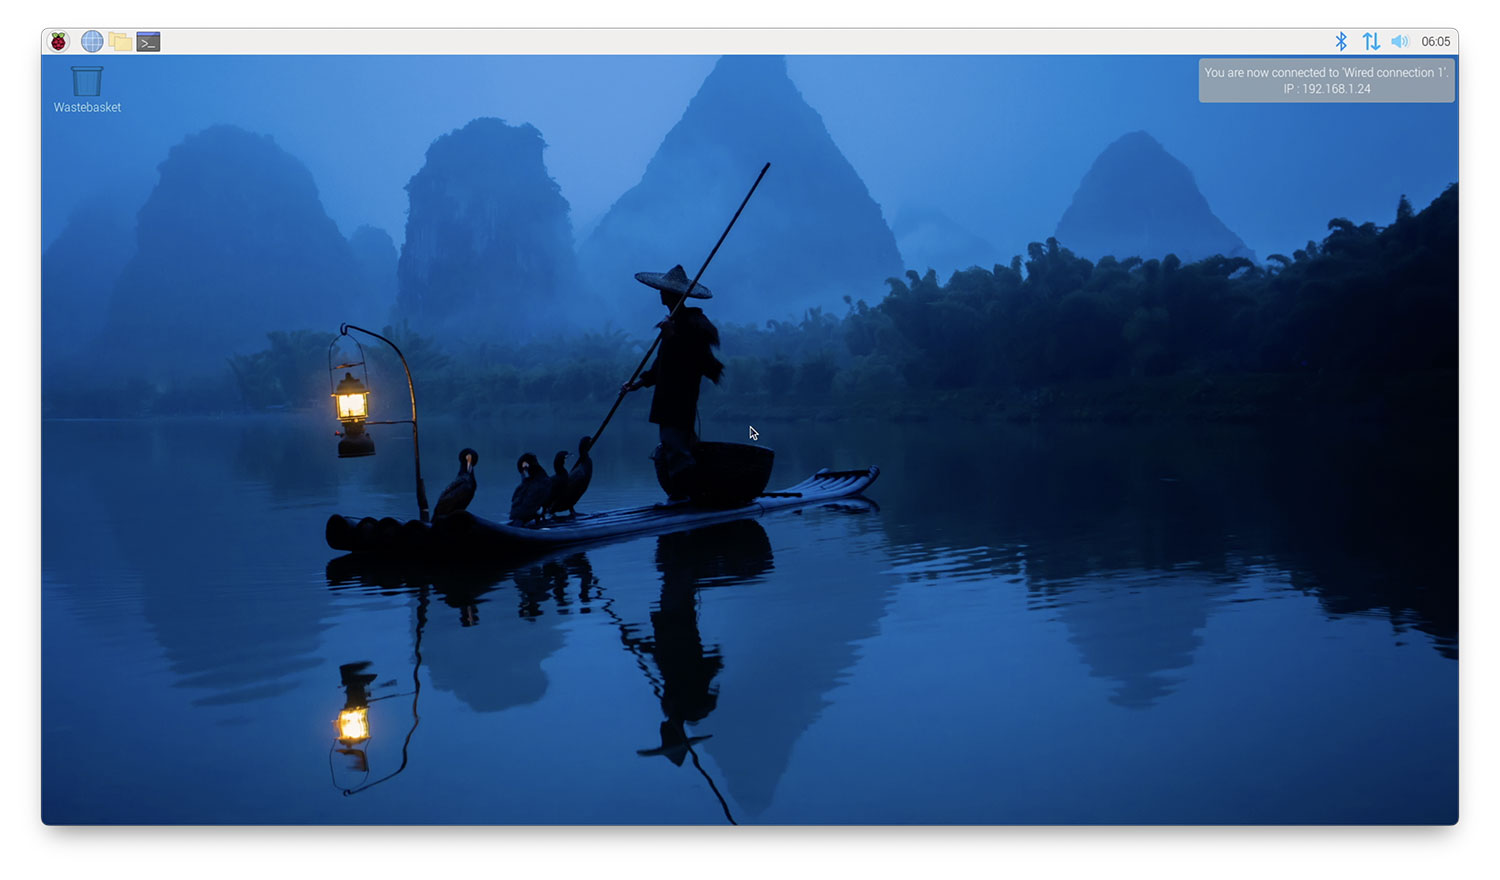
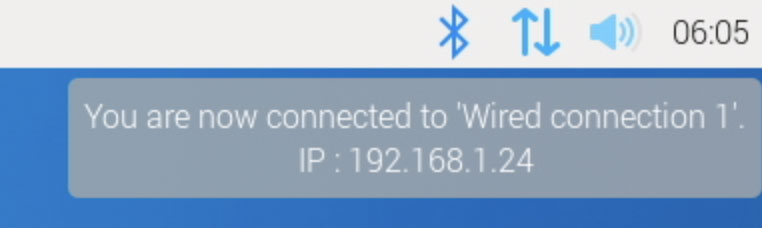
You should see it boot up on the HDMI monitor. If you just flashed the memory card, it will automatically reboot a few times before it finally settles with a standard desktop. It's important to stay alert because on the final desktop you will see the DHCP provided IP address shown in the upper right corner. You need that in the next step.
- On your computer, open a terminal (such as Putty on Windows) to connect with SSH to the Pi. On a Mac it would look like this:
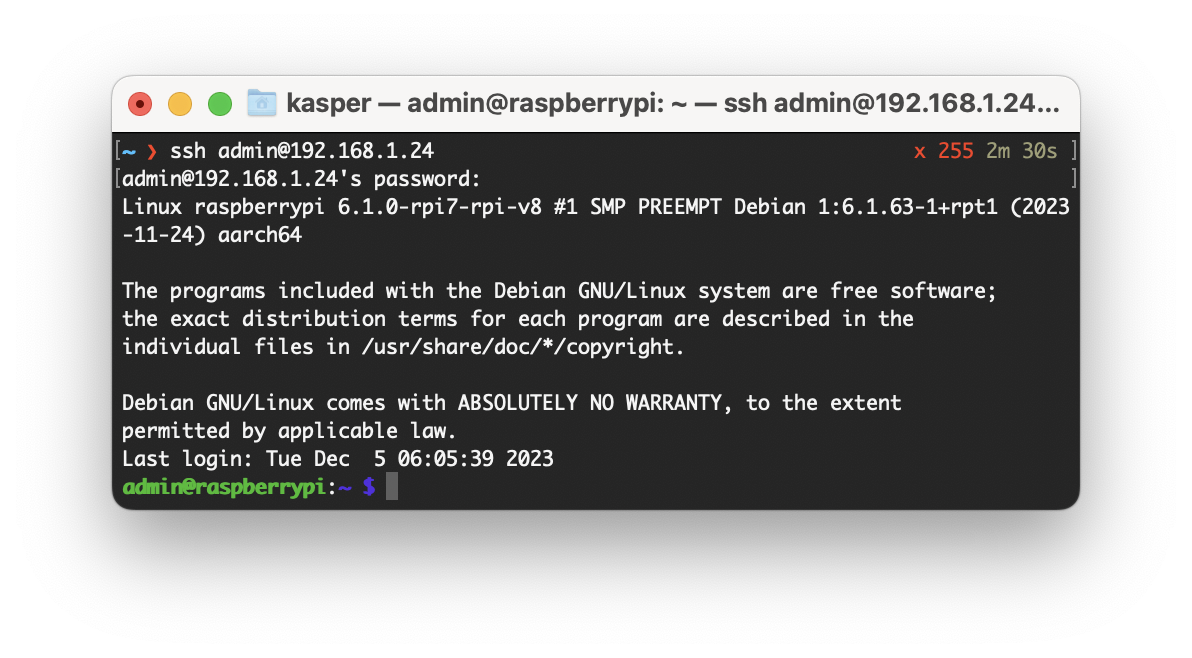
- Here, you need to use the username ("admin" in this case) and password that you selected when customizing the OS earlier. If you have issues with logging in, you may need to attach a mouse and keyboard to your Pi and change password using the UI (Preferences > Raspberry Pi Configuration)
Installing core-skaarhoj-piplayer
-
In the terminal, run the following command to download the SKAARHOJ Media Player:
curl -O https://raw.githubusercontent.com/SKAARHOJ/Support/master/Files/PiPlayer/core-skaarhoj-piplayer.zip- Next, we need to extract the archive we have just downloaded:
unzip core-skaarhoj-piplayer.zip- Insert an empty USB stick and try to run it:
./core-skaarhoj-piplayerYou should see an output more or less like this:
INFO[0000] core-skaarhoj-piplayer started, version v1.0.0-pre1 (9e3d1a8)   module=main
INFO[0000] Loading config                                module=main
INFO[0000] Set up discovery of other media players on the network  module=main
INFO[0000] mDNS services initialized                     module=main
INFO[0000] Web frontend is available on http://192.168.11.23:8080  module=main
INFO[0000] Connected to XWindows Server                  module=main
INFO[0000] Disabling screen saver                        module=main
Setting up Auto Start of core-skaarhoj-piplayer:
It can be started by systemd creating a config file, piplayer.service, in /etc/systemd/system/ with the following contents:
sudo nano /etc/systemd/system/piplayer.service
The above config assumes you named your user "admin" and keep the binary in the home directory.
After creating this file, you must reload systemd and set it to auto start on every boot:
sudo systemctl daemon-reload
sudo systemctl enable piplayer.service
Restart if needed with this:
sudo systemctl restart piplayer.service
Check status like this:
sudo systemctl status piplayer.service
Follow log messages from the service like this:
journalctl -u piplayer.service -f
Installation