WireGuard
What is WireGuard?
WireGuard is a state-of-the-art VPN protocol — modern, extremely fast and very secure, with a tiny, easy-to-audit code base. It is built directly into the Linux kernel and is supported natively across a huge range of platforms and hardware: Windows, macOS, Linux, iOS and Android, as well as many home and business routers and firewalls (for example MikroTik, OPNsense, pfSense, OpenWrt, Ubiquiti UniFi and FRITZ!Box). Because WireGuard is so widely available, you can connect your SKAARHOJ Controller to almost any existing network — your own router or server, or a commercial VPN provider — using a standard WireGuard configuration.
A WireGuard connection is called a tunnel. You give the controller a standard WireGuard config (the same .conf format used everywhere), start the tunnel, and the controller securely joins the remote network.
On a SKAARHOJ Controller this is useful for:
- Reaching the controller and the devices on its network remotely over a secure tunnel.
- Connecting the controller into an existing company or site VPN.
- Routing the controller’s traffic through a VPN endpoint of your choice.
WireGuard is free and open source — there is no account to create and no subscription. You only need a WireGuard configuration from the network you want to join.
Installing the WireGuard app on your Controller
WireGuard is delivered as an installable package in SkaarOS. Open the Packages page from the top menu (or browse to /system/), find WireGuard in the list and install it.
[[IMG:packages]]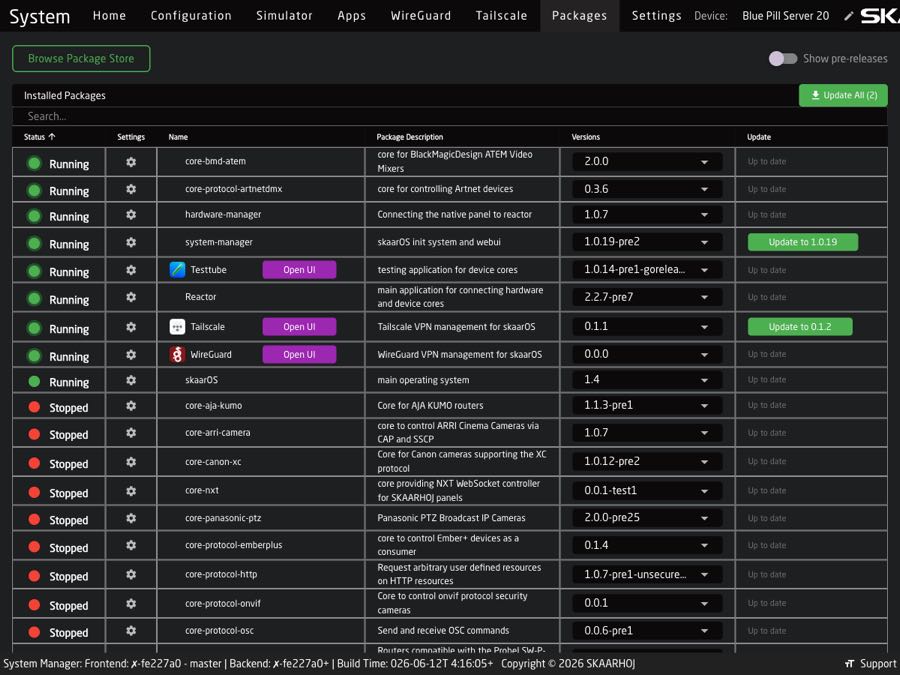
Click into the package and press Start so its status shows Running, then refresh the page. The Open WebUI button becomes available — click it to open the WireGuard app.
Enable the Show in Menu toggle to add a WireGuard tab to the top menu bar for quick access.
Creating a tunnel
Open the WireGuard app and, on the Tunnels tab, click New Tunnel.
[[IMG:new]]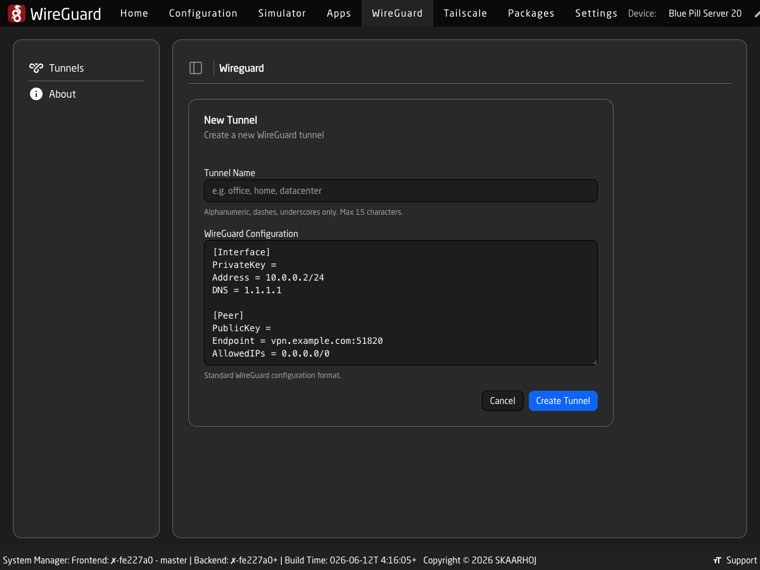
- Tunnel Name — a short label such as
office,homeordatacenter. Alphanumeric, dashes and underscores only, maximum 15 characters. - WireGuard Configuration — paste your standard WireGuard config in the usual
.conf(wg-quick) format. A template is shown so you can see the expected structure ([Interface]and[Peer]sections). - Click Create Tunnel.
Where do configs come from? Generate one on your own WireGuard server or router, or download it from your VPN provider’s portal. The same config you would use on a laptop or phone works here — simply paste the text.
Managing your tunnels
The Tunnels tab lists every tunnel with live status that refreshes automatically.
[[IMG:tunnels]]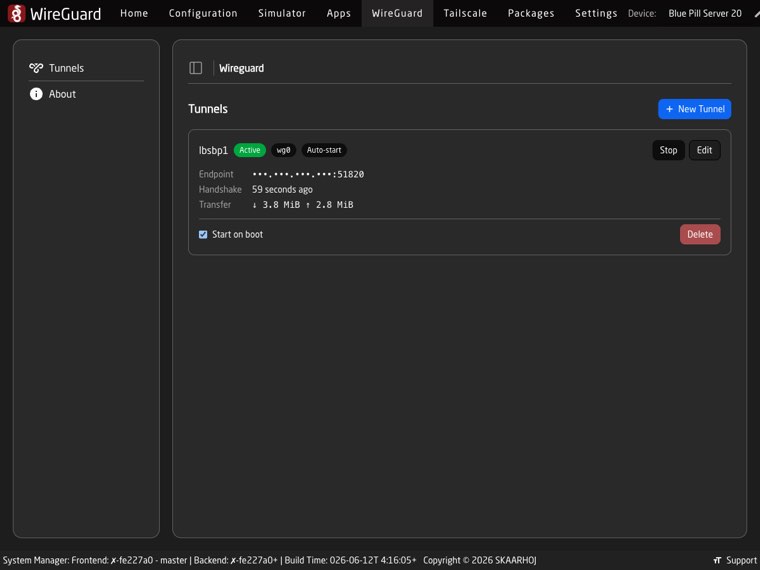
- An Active / Inactive badge and the interface name (
wg0,wg1, …). - Start / Stop to bring the tunnel up or down.
- When active: the peer Endpoint, the latest Handshake time and Transfer totals (↓ received / ↑ sent).
- Start on boot — automatically bring the tunnel up when the controller powers on (shown as an Auto-start badge).
- Edit — change the configuration. Private keys are hidden by default; click Show Secrets to reveal them.
- Delete — remove the tunnel (it is brought down first if it is active).
WireGuard everywhere
Because WireGuard is built into so many devices, you can create the other end of the tunnel almost anywhere — a router at your office, a cloud server, or a commercial VPN service — and connect your other computers and phones to the same network. Official clients and installation guides for every platform are available at wireguard.com/install. Many routers and firewalls can also act as a WireGuard server out of the box — check your device’s documentation.