Tally-MA on Raw Panel
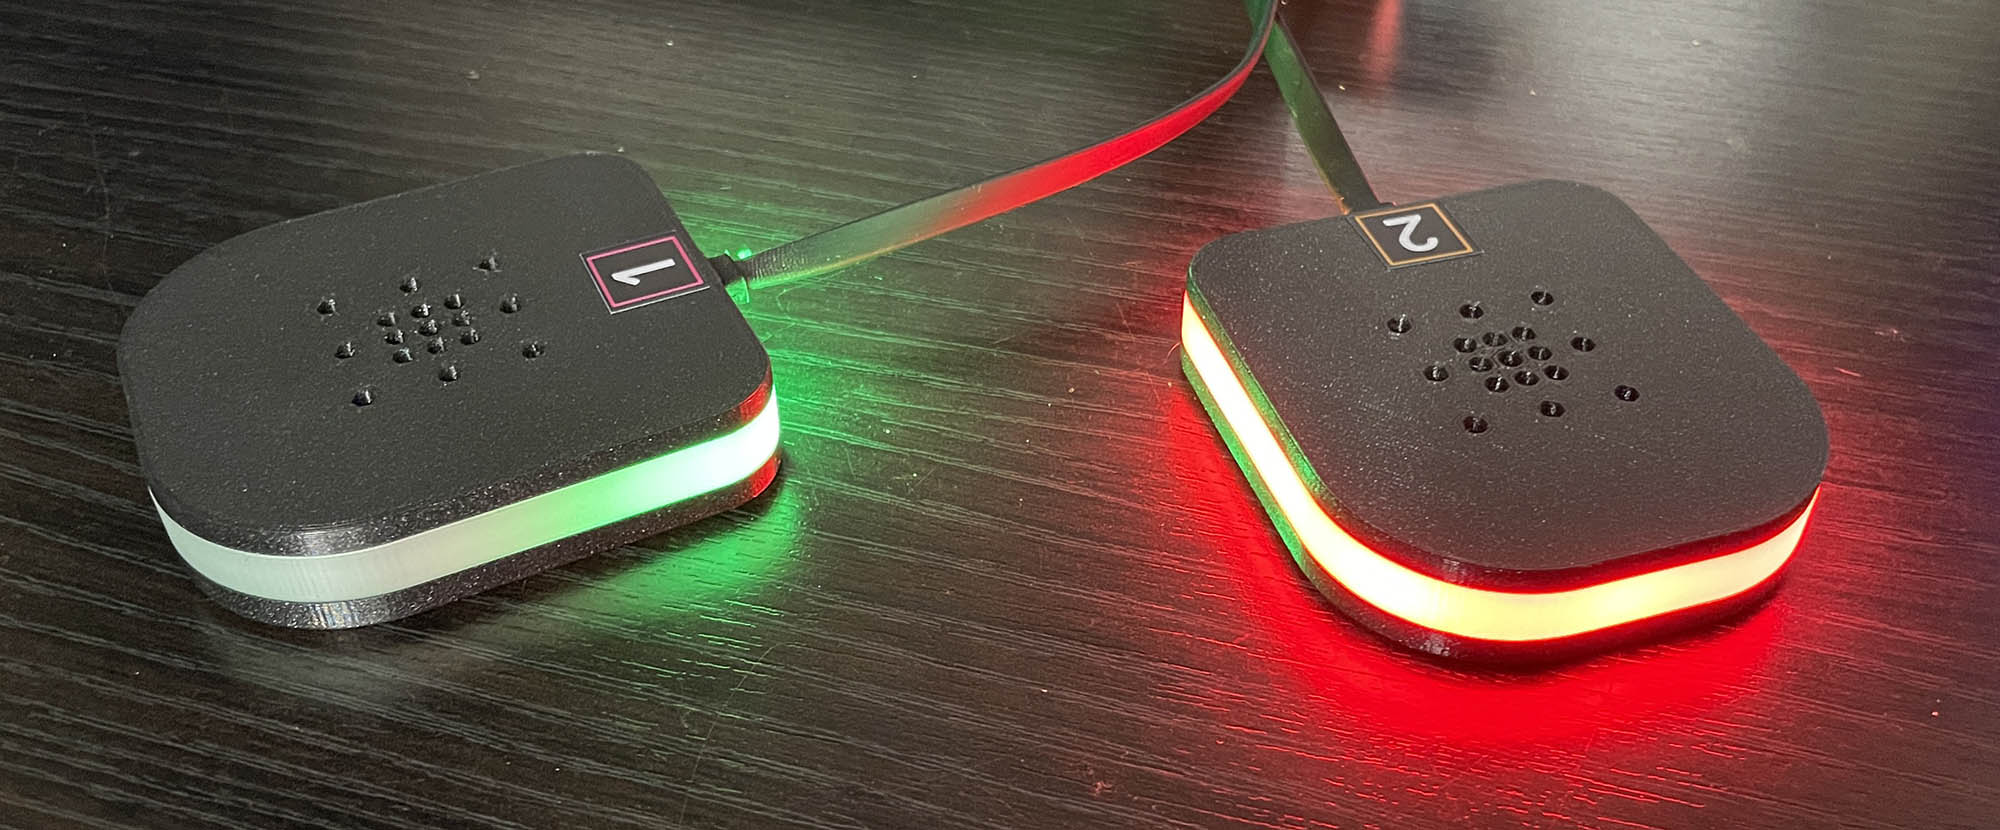
With SKAARHOJ's Tally-MA application (xpanel-tallyma package), you have the capability to connect one or more WiFi based Tally-MA lamps to a SKAARHOJ product.
The lamps are controlled from your SKAARHOJ product directlyallows viadirect control of the lamps using UDP packetspackets, withouteliminating the need tofor usethe Tally-MAs software application TallyServer. However, you do need to use the TallyServer software tois setstill upessential for configuring the lamps' static IP addresses (static) and WifiWi-Fi connection for the lamps.connection.
One or moreMultiple Tally-MA lamps will be grouped into a single Raw Panel device. This configuration allows SKAARHOJ to assign tally information directly within Reactor.
Tally-MA Configuration
For guidance on configuring the lamps, please visit Tally-MA. We cannot assist with this process. It requires connecting the lamps to your computer, downloading the TallyServer software, and then setting the Wi-Fi credentials and static IP addresses. The latter is necessary for compatibility with SKAARHOJ's xpanel-tallyma.
Ensure the lamps are on the same network as the SKAARHOJ product you intend to use for control. Using a web browser, navigate to their IP addresses. If set up correctly, you'll see a webpage listing commands. Once confirmed, proceed with the next steps.
Configuration
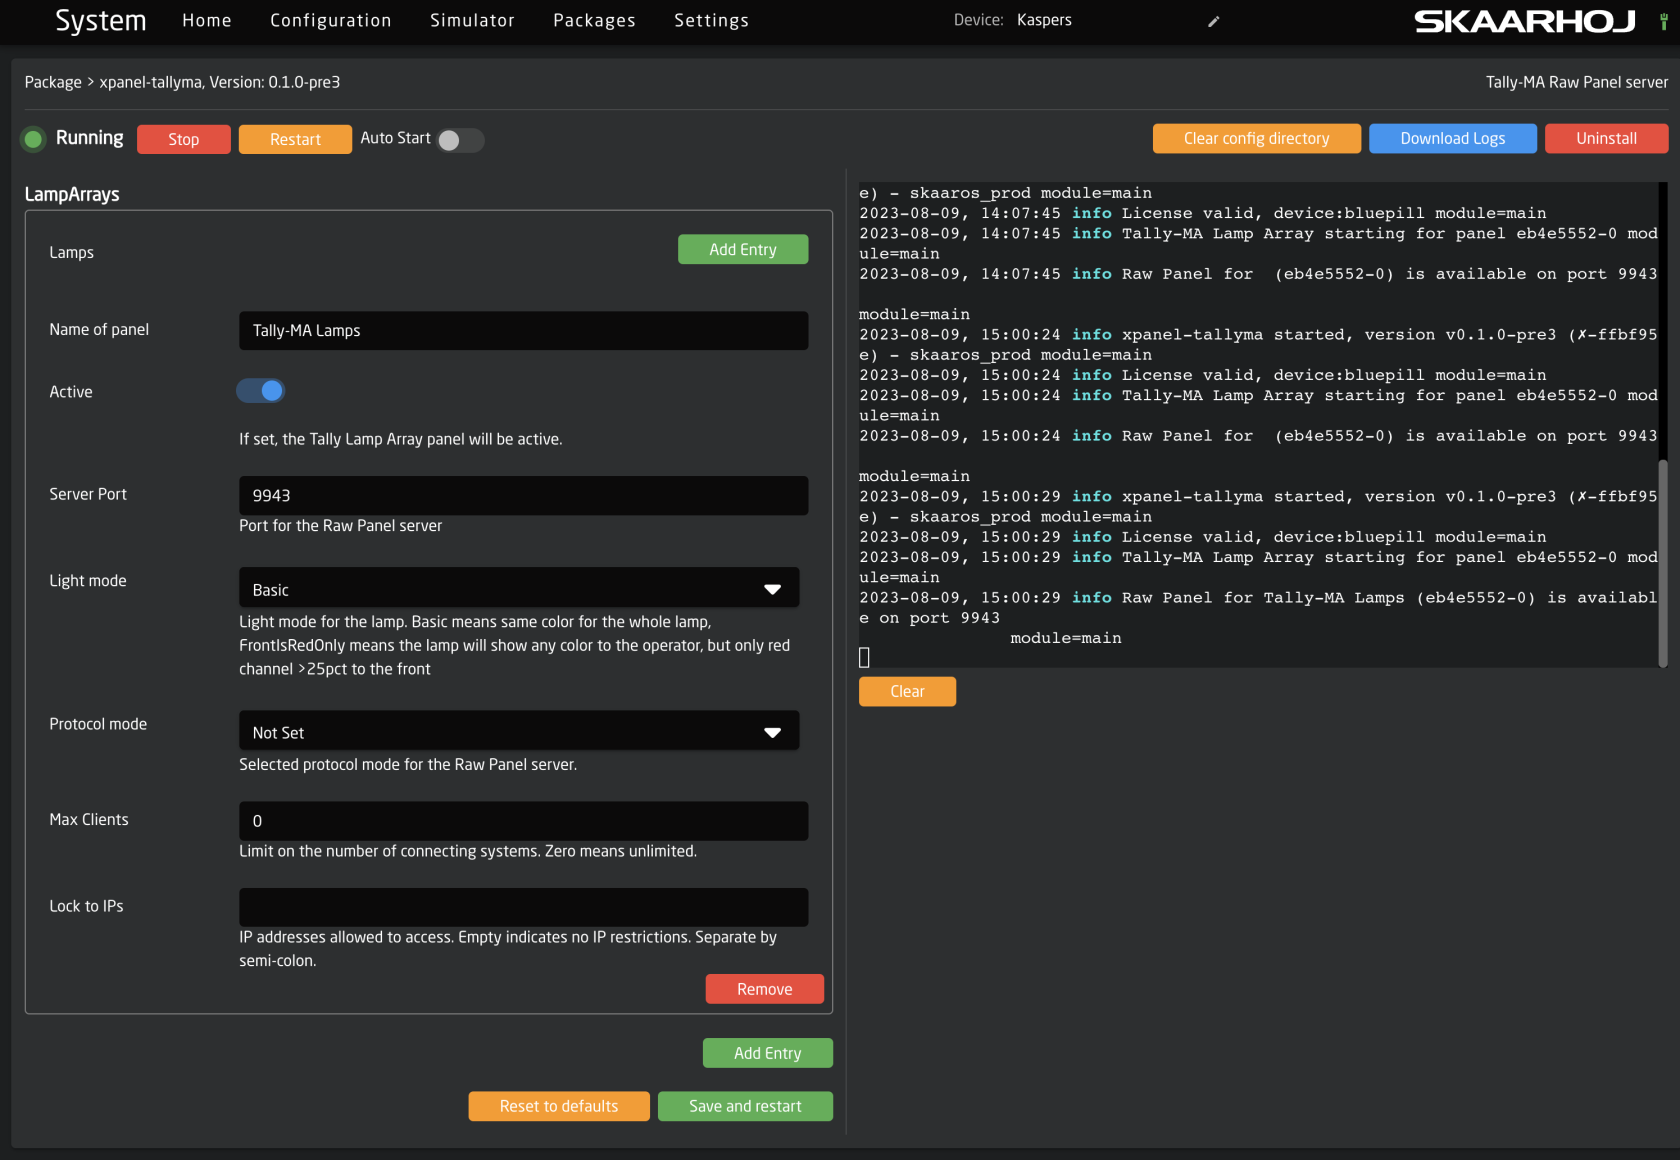
On the 'Packages' tab of your SKAARHOJ product, after successful installation, you'll find the configuration for xpanel-tallyma. Post-installation and initialization, it should resemble the following layout:
This configuration allows you to organize multiple Tally-MA lamps into an array to be controlled by a single Raw Panel instance. While it's possible to create several lamp arrays, most users typically only need one.
Add lamps!
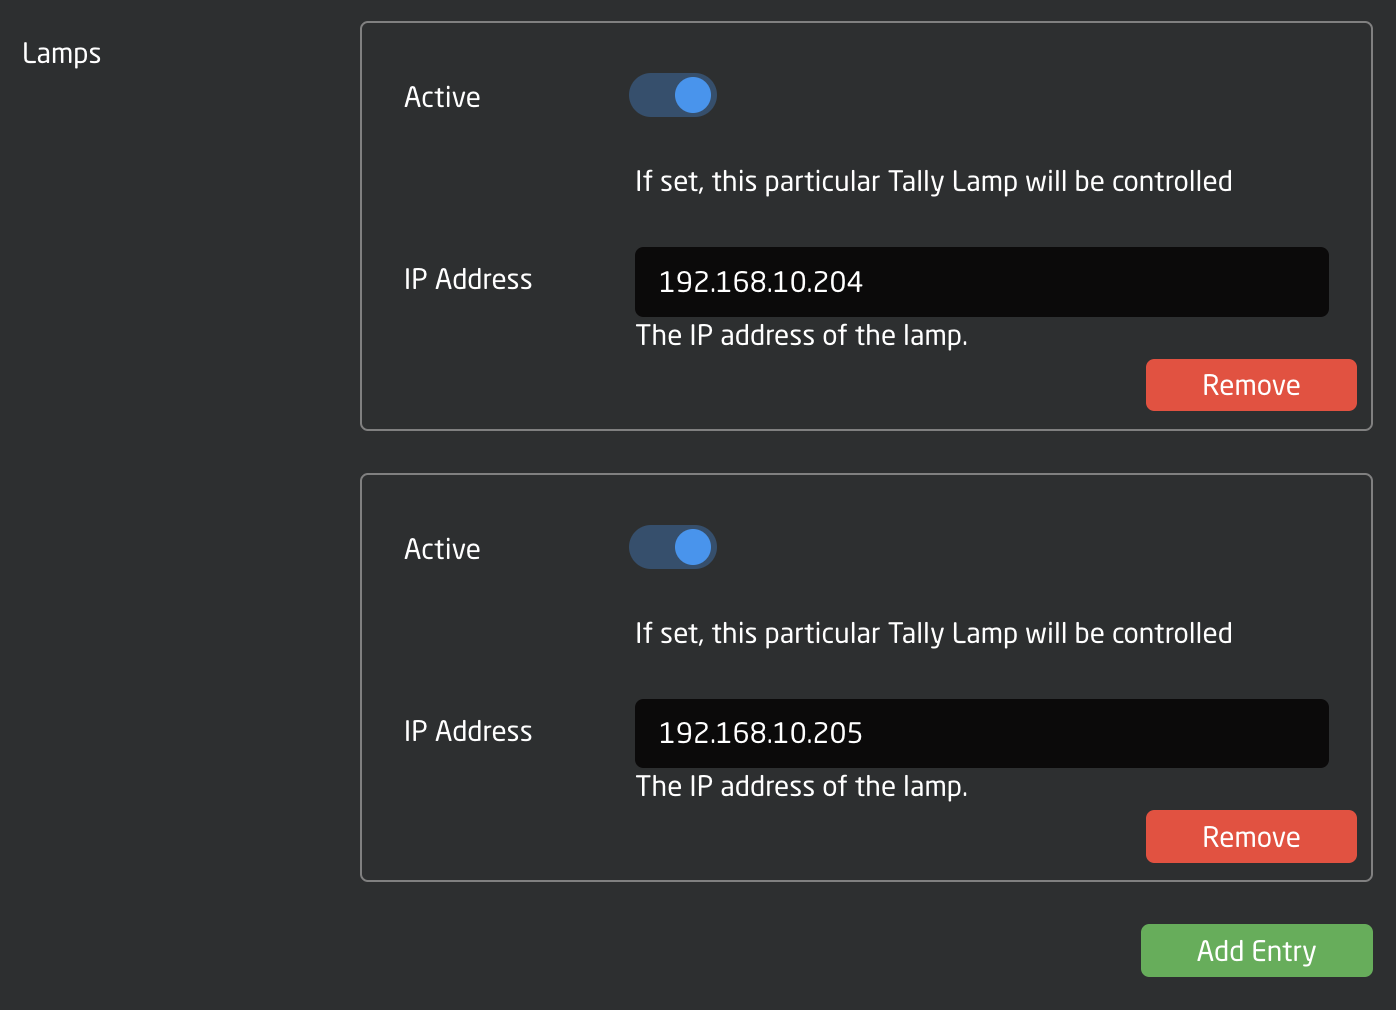
Begin by adding the accessible lamps on your network. Click "Add Entry" beside 'Lamps' and follow the prompts. Lamps are numerically named, e.g., Lamp 1, Lamp 2, based on the order they're added.
Testing the Raw Panel
(Optional but recommended for understanding)
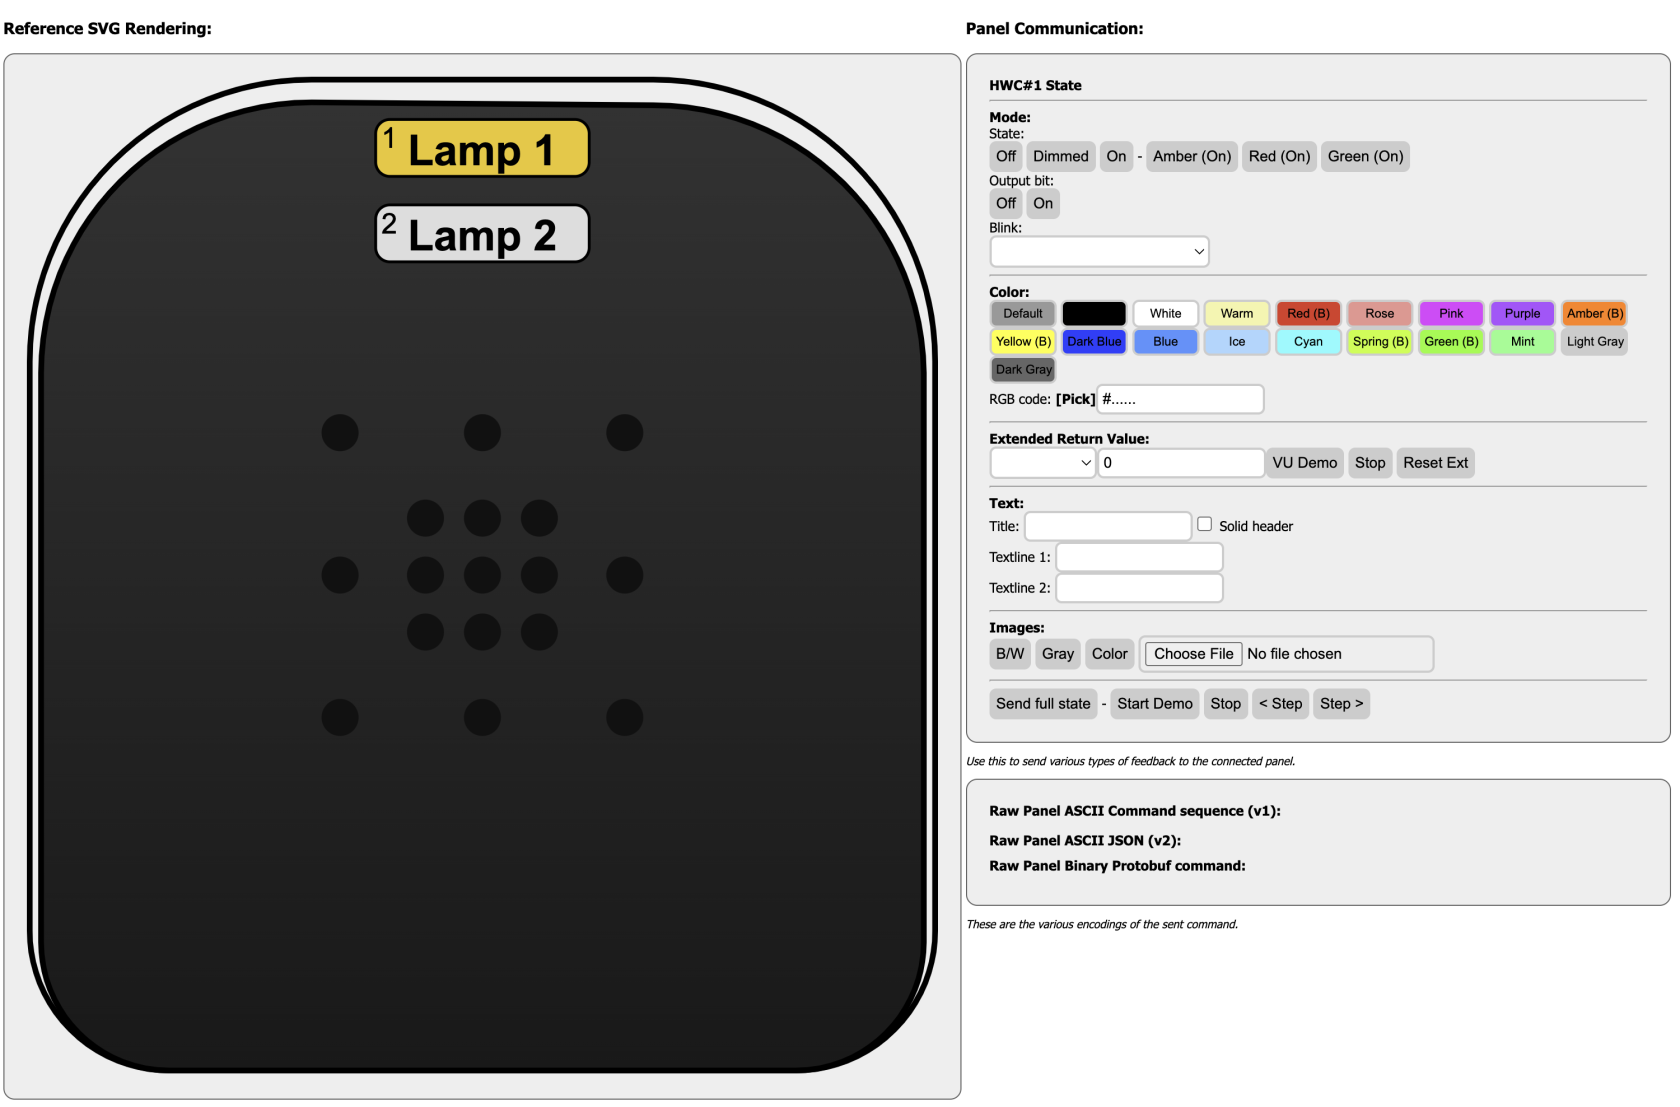
Using the Raw Panel Explorer, locate the panel you've created in the web UI. The Tally-MA raw panel instance should display as follows in the main window:
Click Connect and you should see this:
Each added lamp is represented by a rectangular placeholder. For example, two lamps appear like this. You can click on each to assign a color. To illuminate them, click "On" and select a preferred hue.
Reactor Configuration - Out of the Box
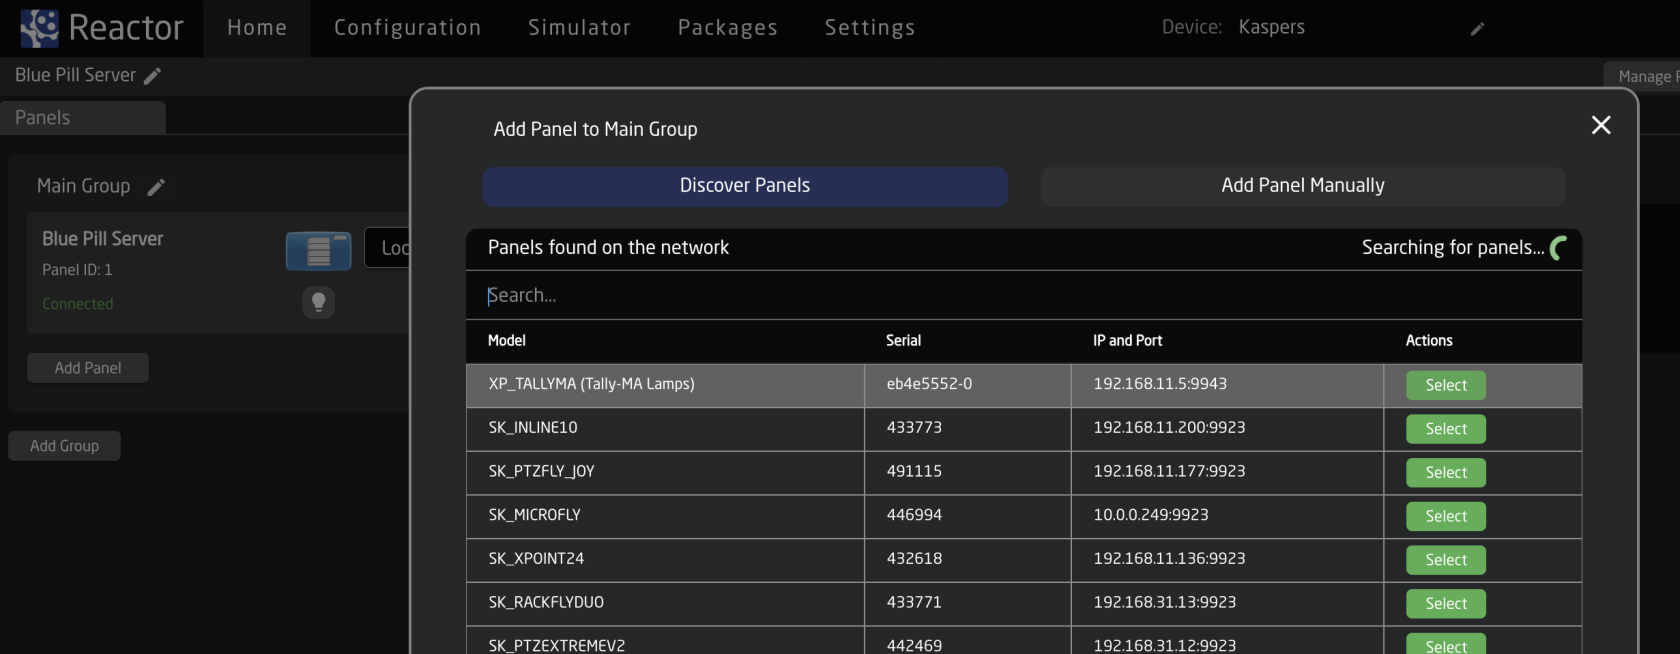
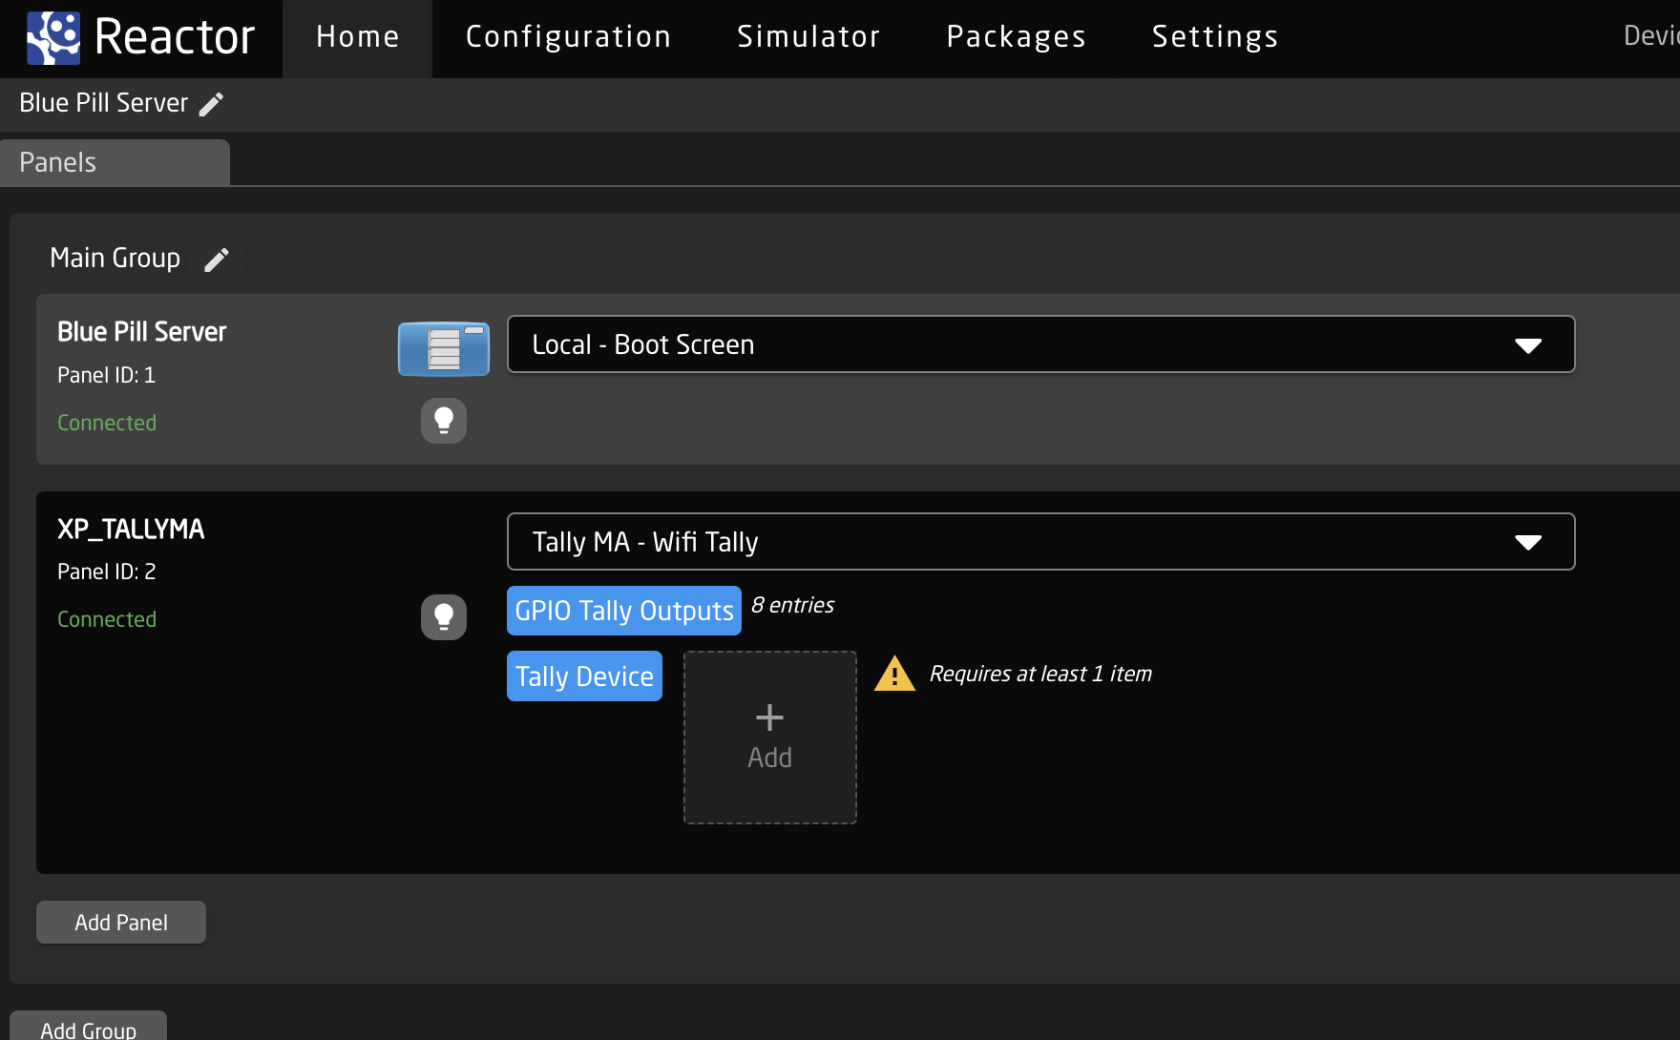
To integrate the lamp with devices like a video switcher, add the panel in Reactor. Click 'Add Panel' and locate it on the network. In the "Tally Trigger" dropdown, choose from the preset mappings SKAARHOJ provides for widely-used video switchers and routers.
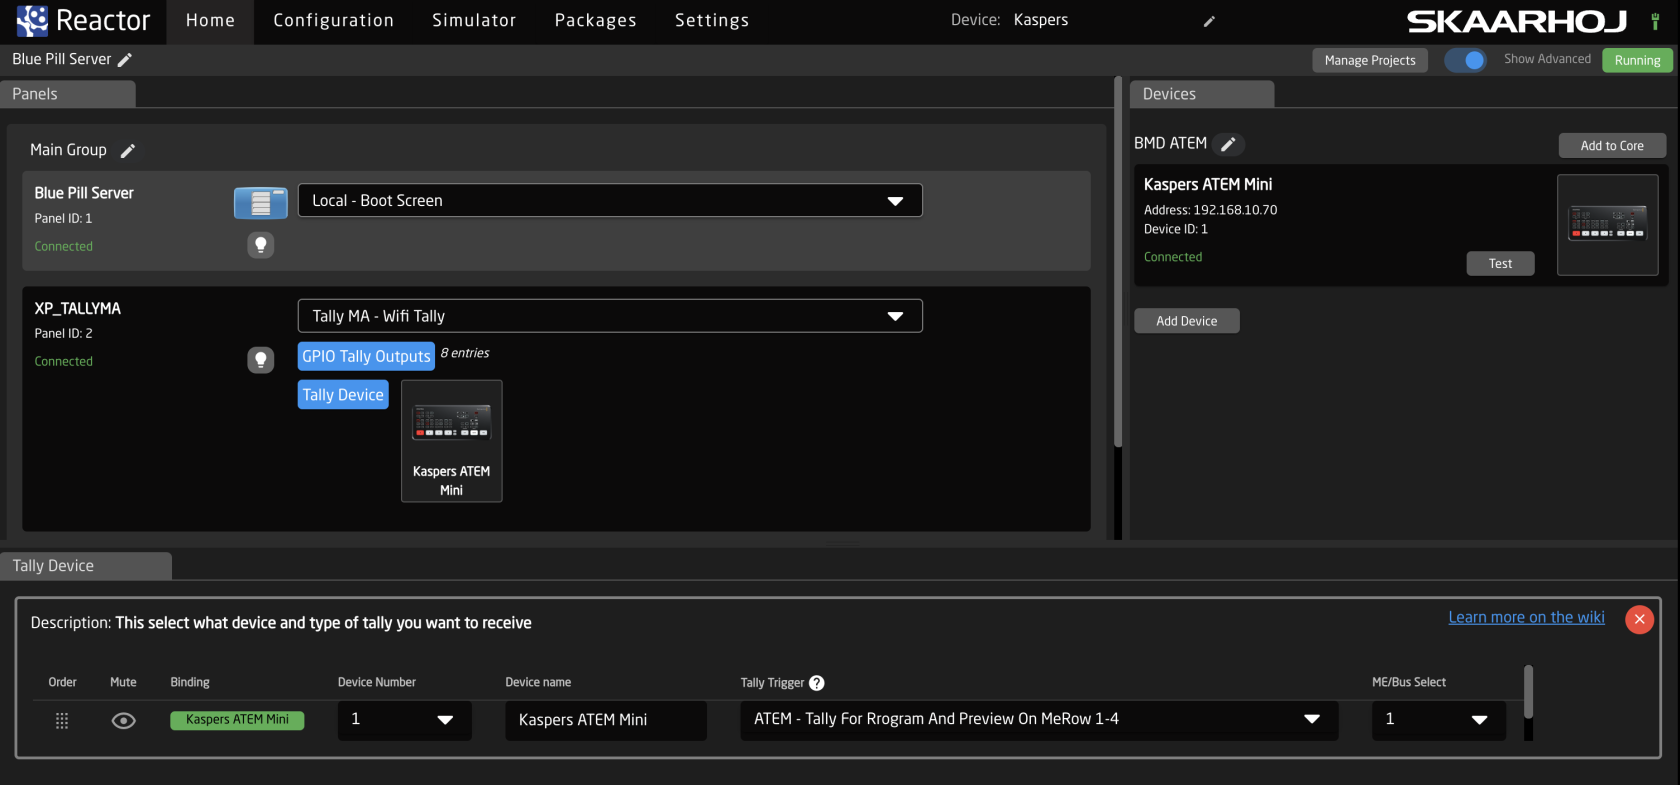
Click the blue button "Tally Device", add a new entry like this:
In the drop-down called "Tally Trigger" you select existing mappings SKAARHOJ have done for popular video switchers and routers.
Customization
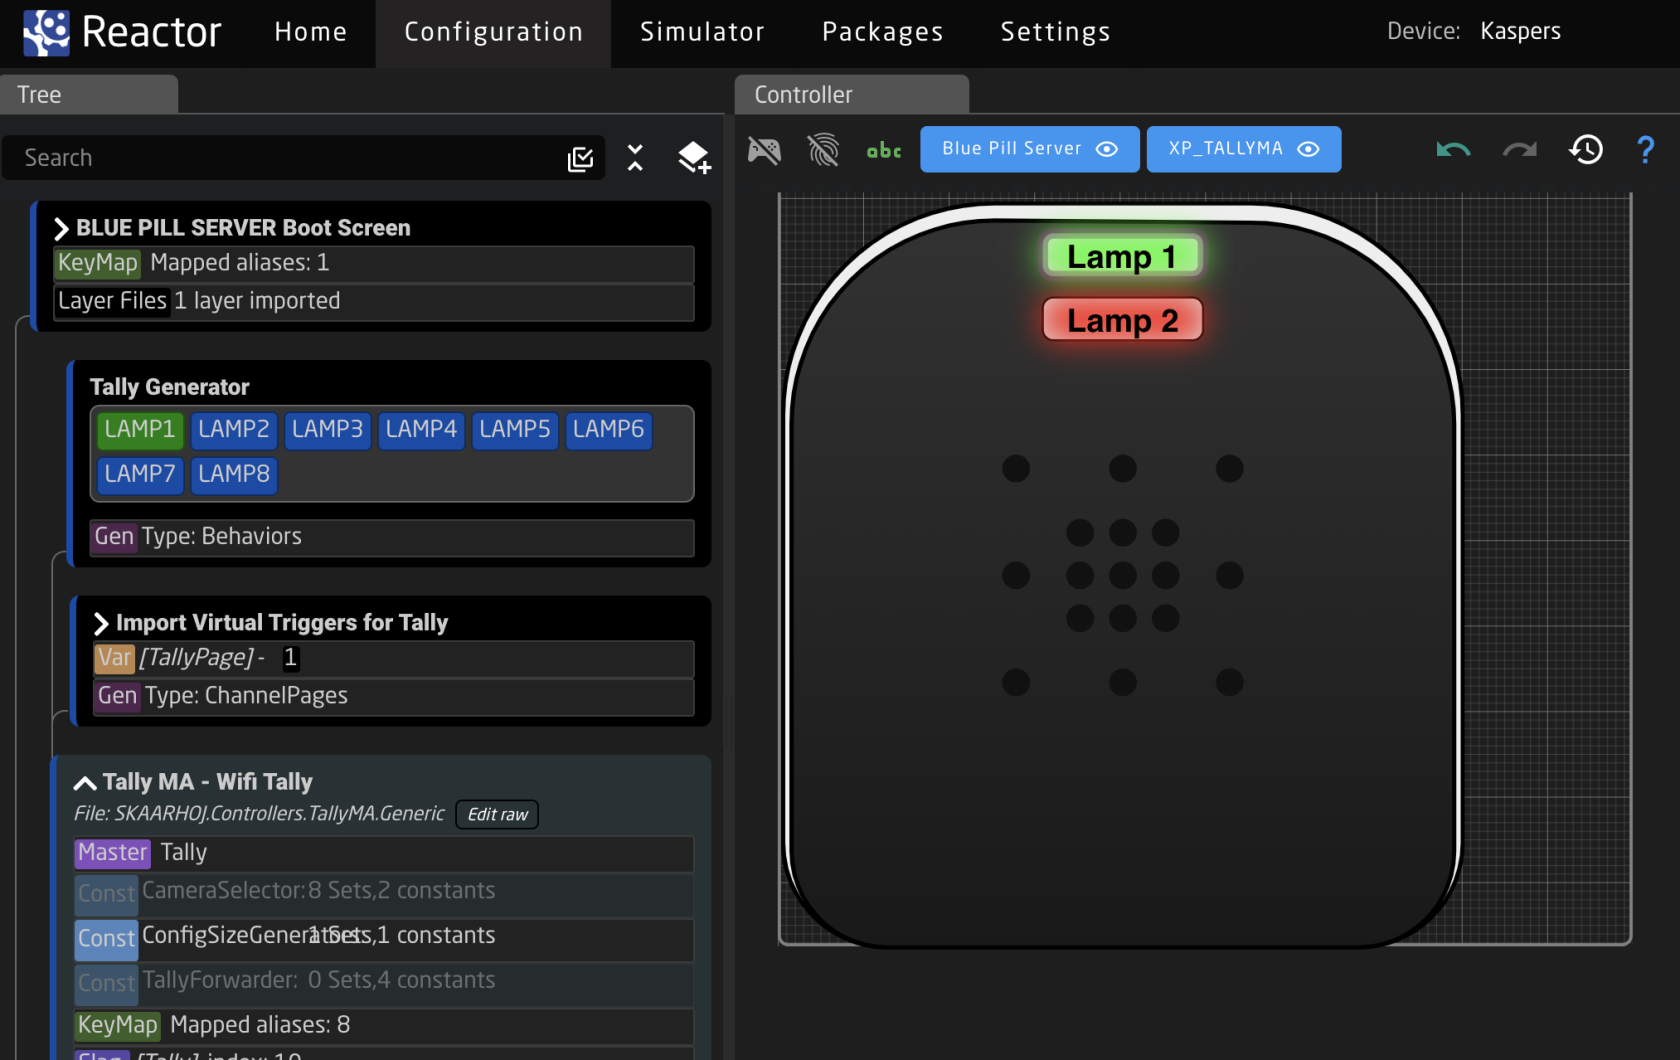
The Tally-MA lamps, being consolidated intoas RGB outputs in a Raw Panel devicedevice, whichoffer SKAARHOJflexible canusage, assignincluding bespoke configurations through the 'Configuration' tab in Reactor. While more advanced than the ready-made configurations, those wishing to tallyexplore informationcustom directlysetups insidewill offind Reactor.this feature invaluable. However, a deeper dive into this topic will be covered in another article.

