Reflash Blue Pill devices
If your Blue Pill device has become totally unresponsive - you cannot contact it in any way - the solution may be to 'reflash' the entire system software.
| NOTE: For this procedure you need the assistance from SKAARHOJ Customer Support ! Please contact: support@skaarhoj.com |
| ALERT: This procedure will ERASE ALL configurations on the device. |
REQUIREMENTS
You need the following software:
• BalenaEtcher https://www.balena.io/etcher/
• (you may need) SKAARHOJ Updater app https://www.skaarhoj.com/support/firmware-updater
• skaarOS image file (this can only be obtained from SKAARHOJ Customer Support)
PROCEDURE
- make sure you have the 'skaarOS' image file ready on your Desktop (you get this file from SKAARHOJ Customer Support)
- open BalenaEtcher app
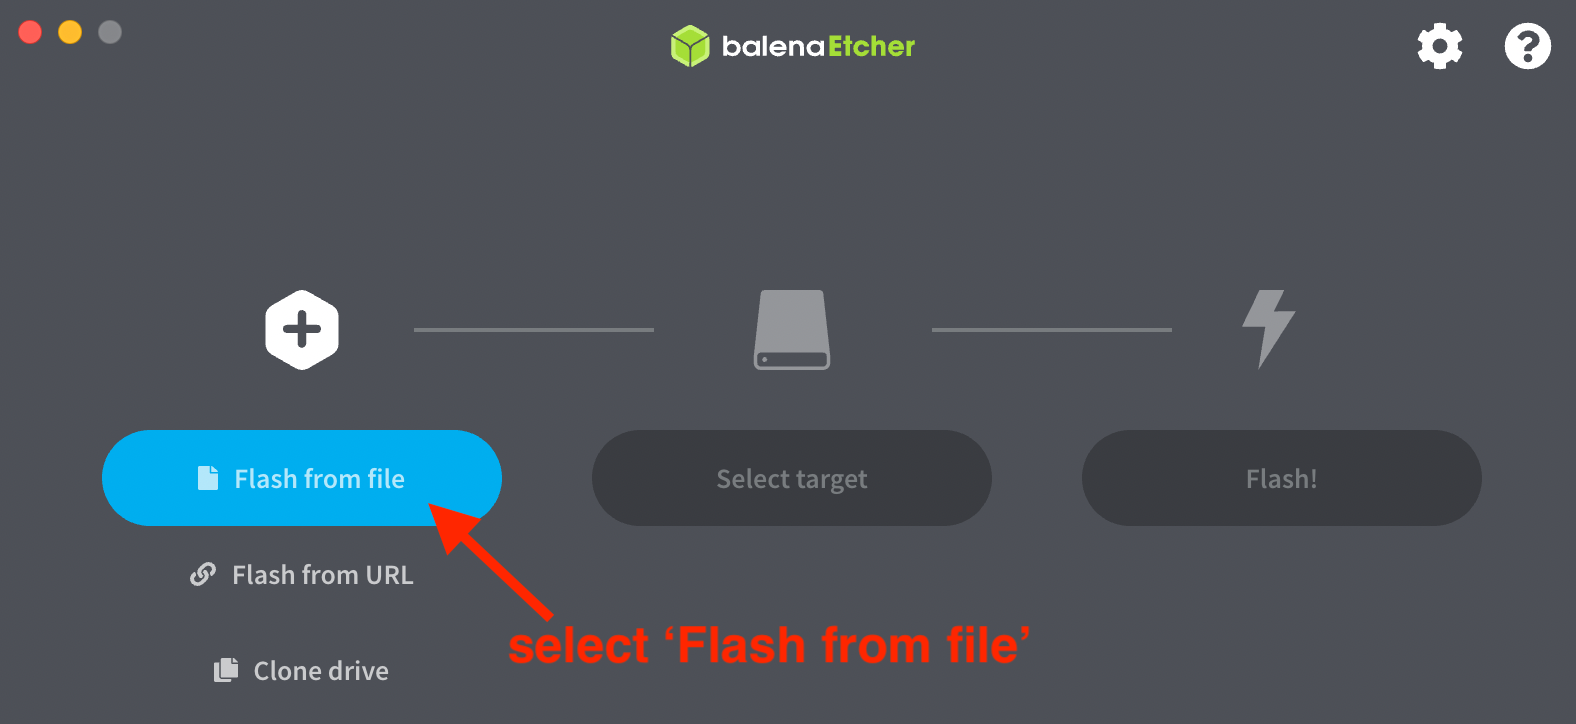
- click 'Flash from file' > select the 'skaaros_xxxx' image file from the Desktop (pic 1 and 2)
- click 'Select target'
- connect Blue Pill device to computer via USB > hold paperclip pressed in the configuration hole on the device > connect power (PSU or PoE) to device (pic 3)
- when you see 'Compute Module' in BalenaEtcher, remove paperclip (if device is not found, follow 'Device not found' workaround using SKAARHOJ Updater app below)
- select 'Compute Module' > click 'Select' (pic 4)
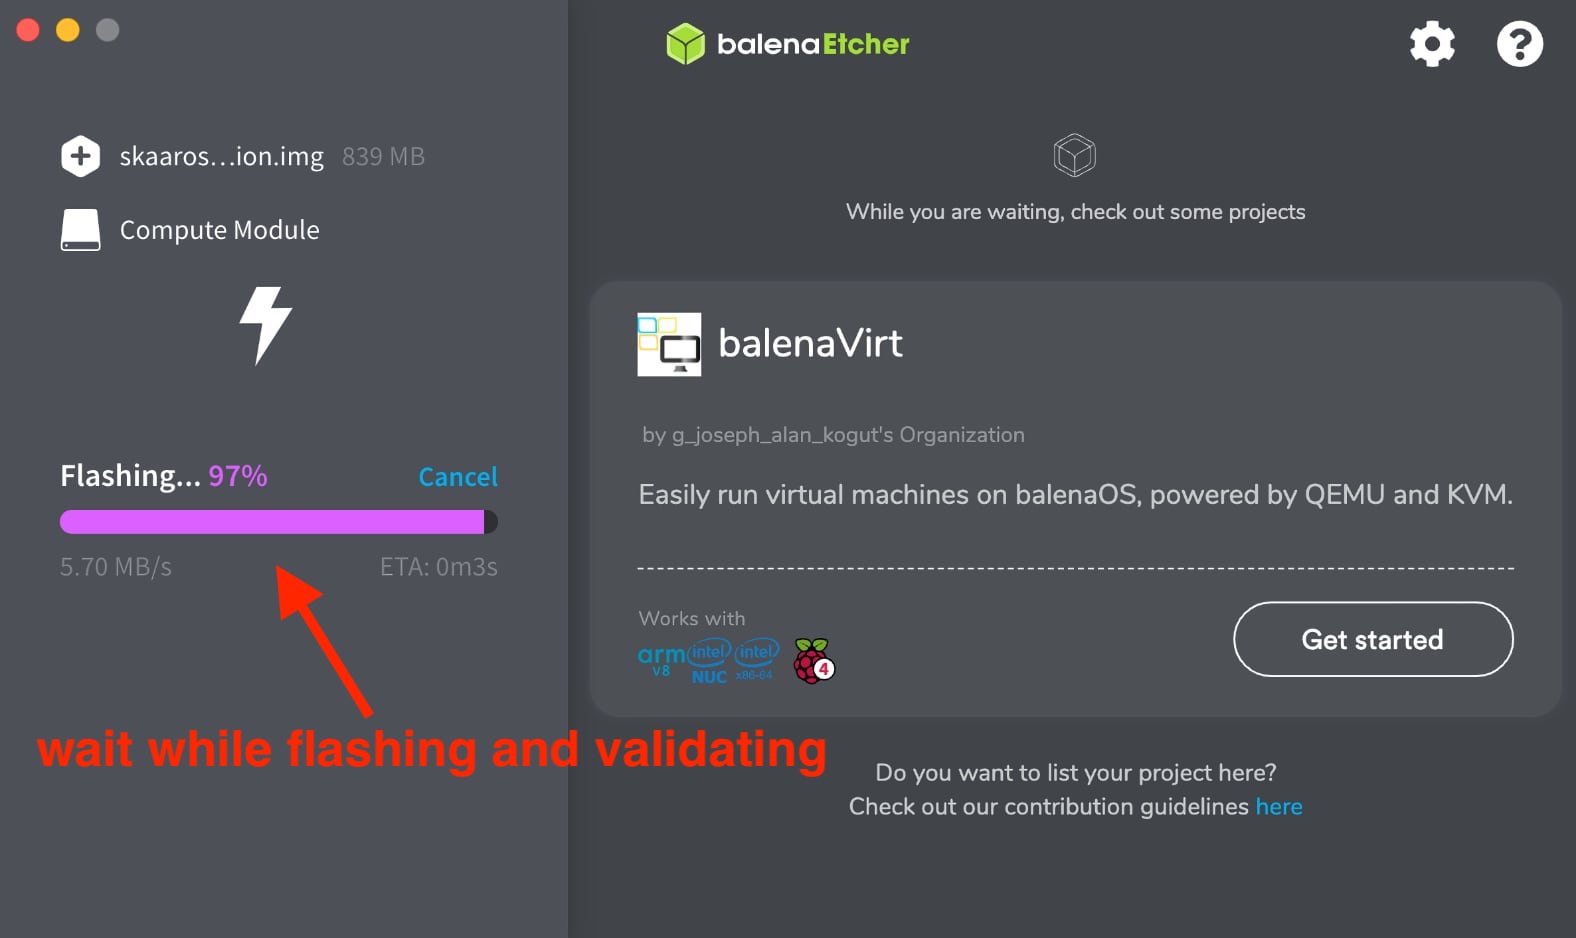
- click 'Flash!' > enter computer password > wait approx 5 min (pic 5)
- after procedure Blue Pill device will reboot. Quit BalenaEtcher.
The Blue Pill device should start up, and display the DHCP IP address it can be found at.
- For initial setup we recommend a network with DHCP server -

IF DEVICE NOT FOUND
If the 'Compute Module' is not found in step 6 please follow these steps:
- quit BalenaEtcher app
- open SKAARHOJ Updater app
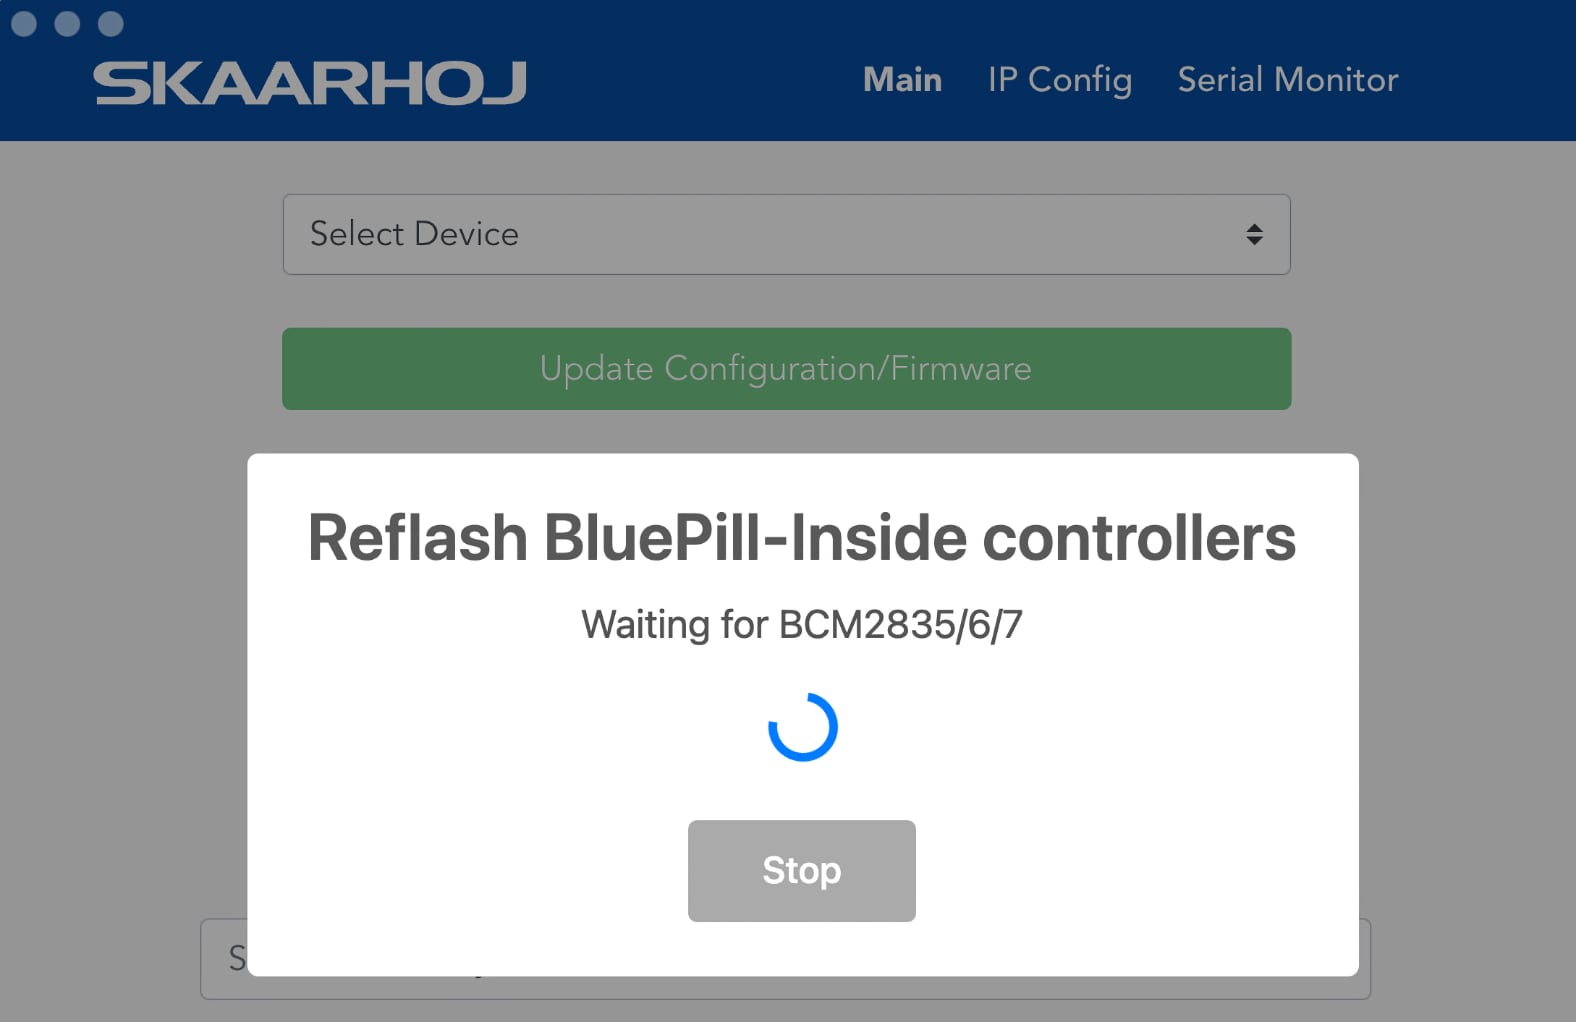
- press keys '[Shift][Option][Cmd] R' (Mac) to enable the 'Reflash BluePill-Inside controllers' mode (pic 1)
- connect Blue Pill device to computer via USB > hold paperclip pressed in the configuration hole on the device > connect power (PSU or PoE)
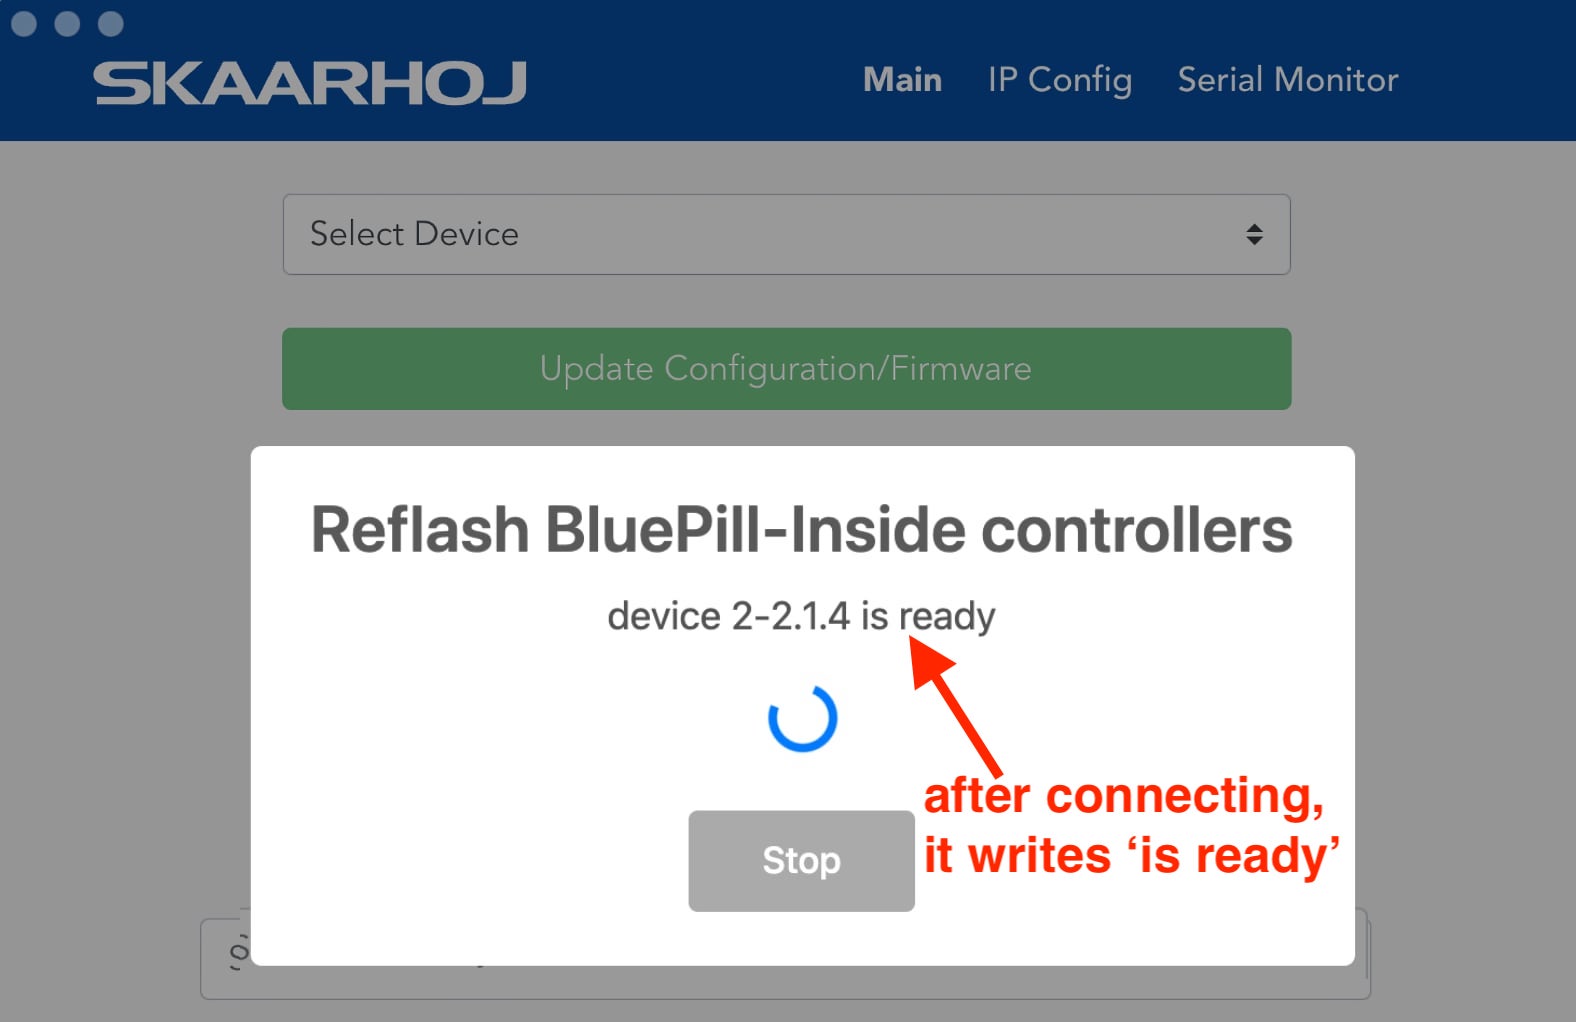
- when you see the device is connected (device x-xx.x is ready) you release the paperclip (pic 2)
- return to the procedure guide above. Follow all steps, except step 5 and 6, where you insert paperclip and power up device


